 Pin it
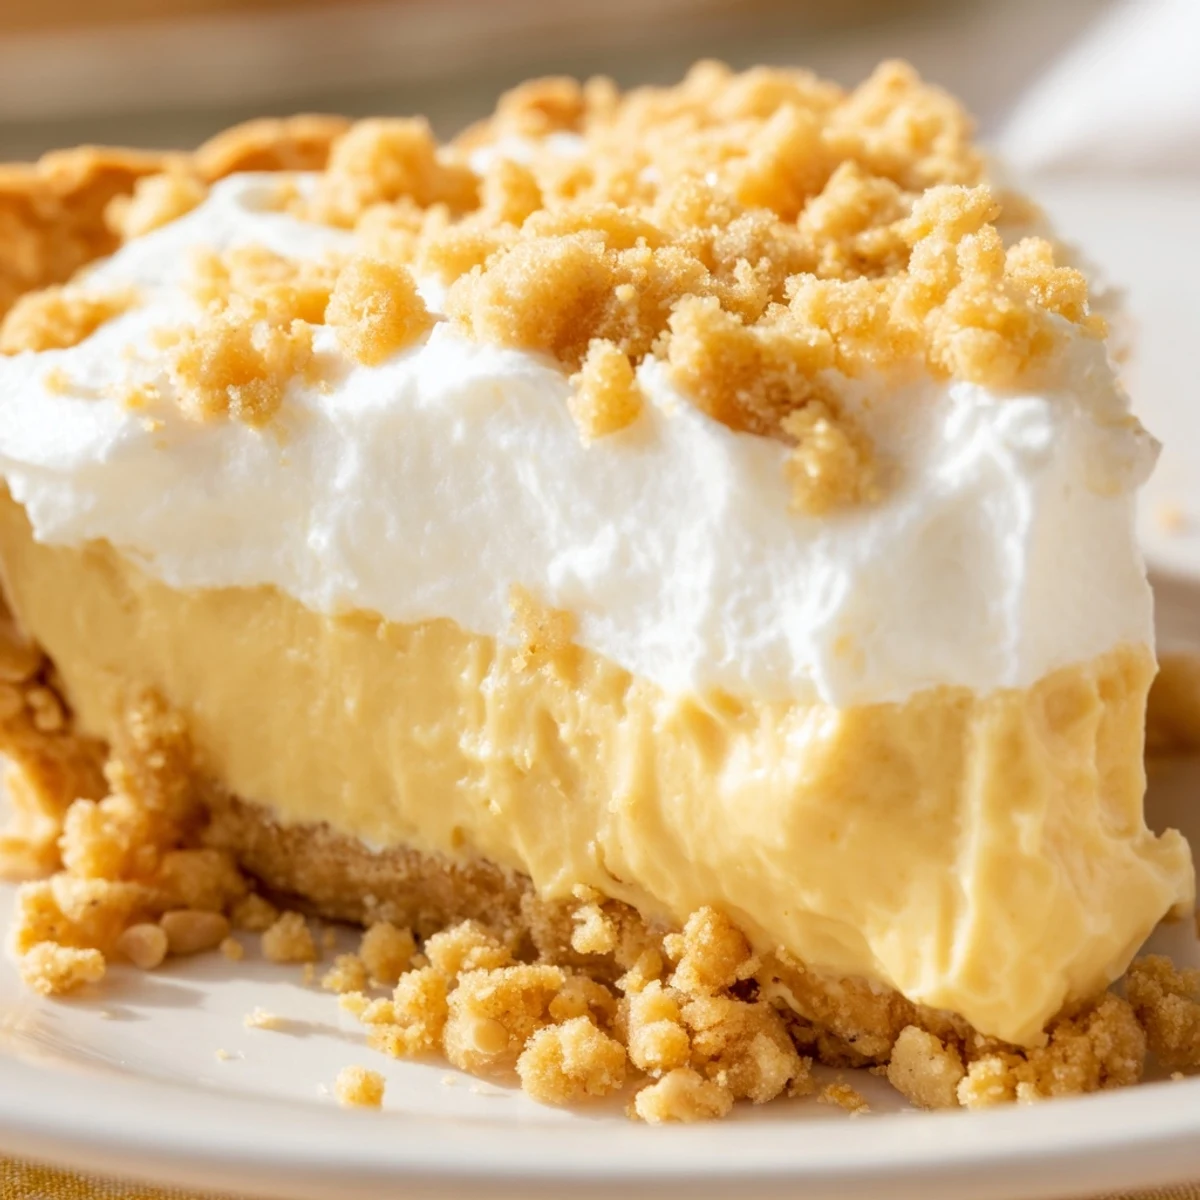
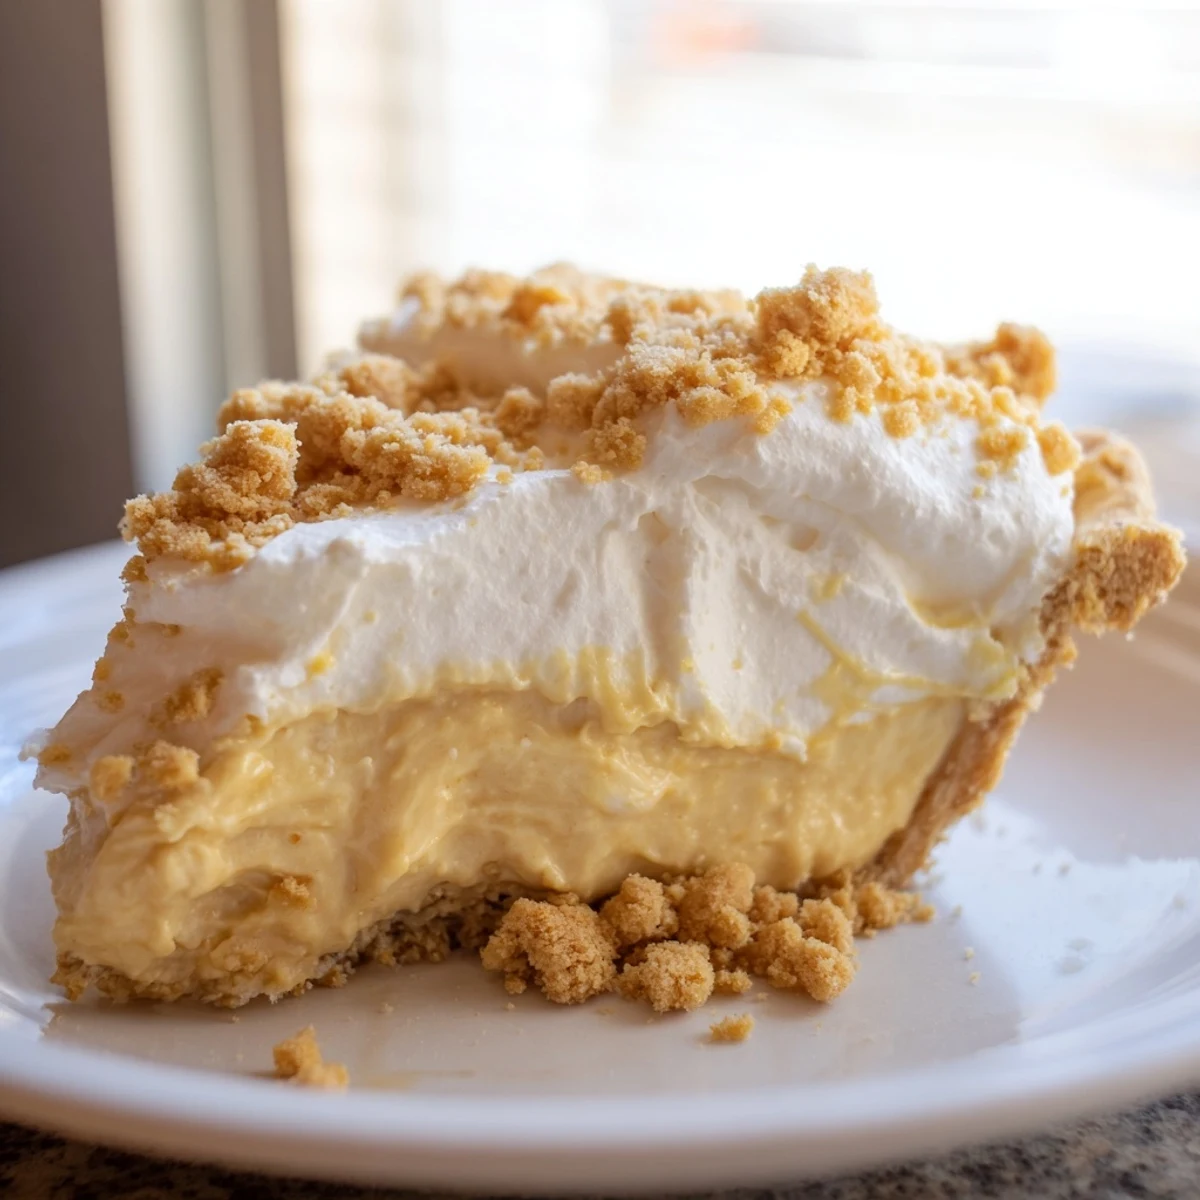
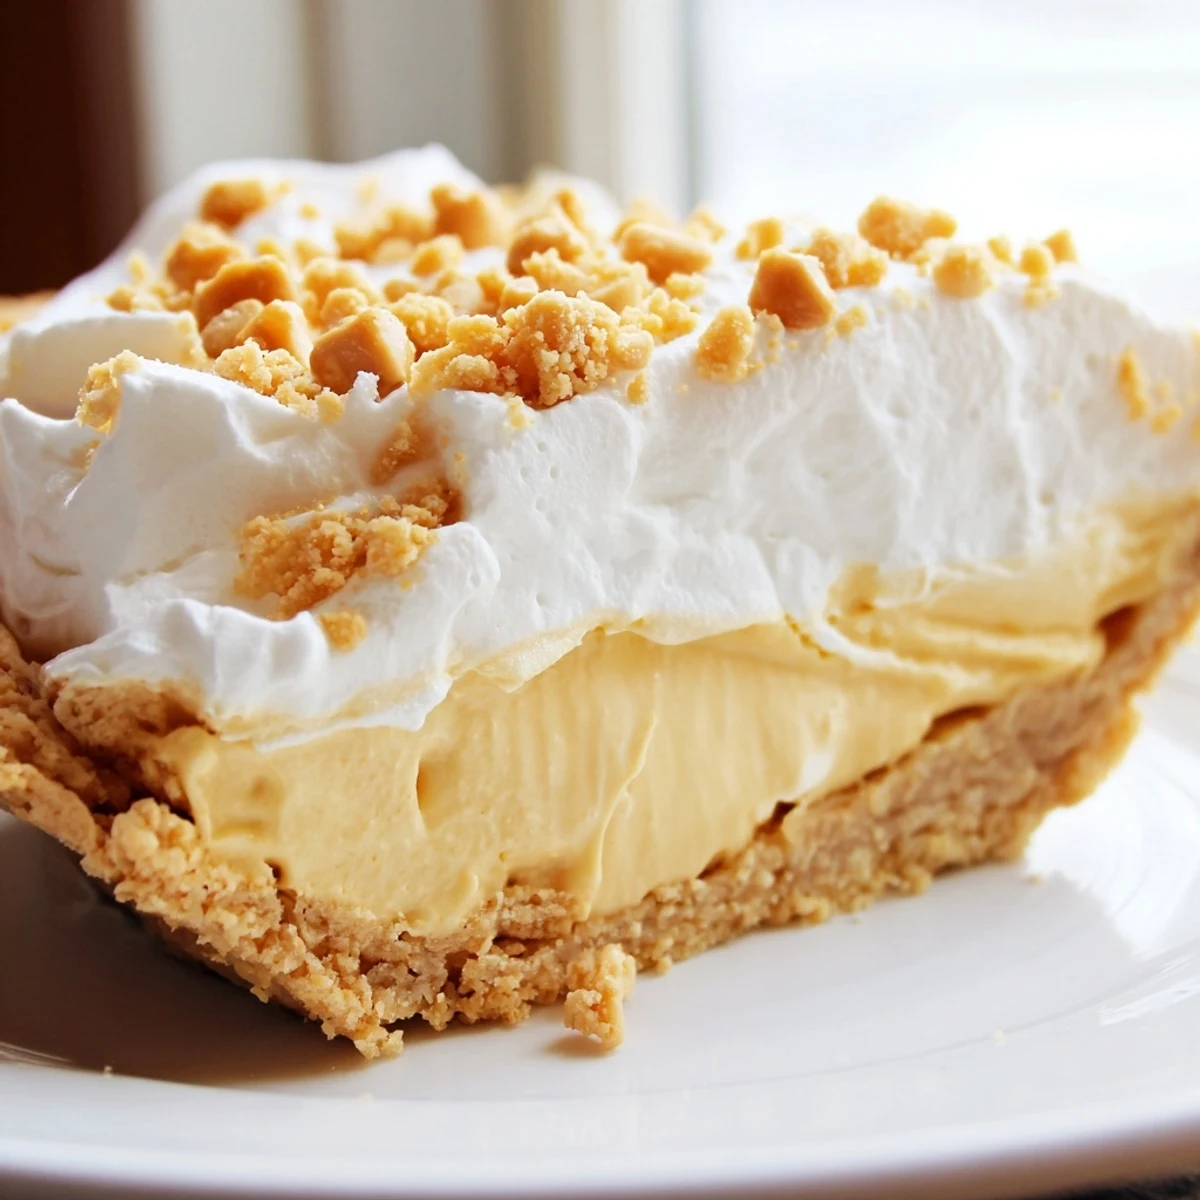
 This beloved Amish dessert combines a silky custard-style peanut butter filling with a delightful crumb layer and fresh whipped cream. The rich, velvety texture comes from cooking milk, sugar, and egg yolks into a glossy pudding base, then blending with creamy peanut butter for that unmistakable nutty sweetness.
What makes this pie special is the layer of crumbly peanut butter and powdered sugar mixture nestled in the crust, adding texture and intensifying the flavor. The chilled filling sets perfectly, creating sliceable portions that hold their shape while remaining incredibly smooth.
Preparation involves simple stovetop techniques any home cook can master. The result is a restaurant-worthy dessert that tastes like it came from a farmhouse kitchen. Perfect for holidays, potlucks, or whenever you crave classic American comfort sweets.
My aunt Mary kept a glass pie plate on her counter that seemed to always hold something creamy and comforting. This peanut butter pie appeared after Sunday dinners, the kind of dessert that makes everyone go quiet after the first bite. I begged for the recipe until she finally wrote it on a stained index card, explaining that Amish cooks have been making variations of this for generations.
The first time I made this for my own family, my husband took one bite and closed his eyes like he was remembering something from childhood. That moment when food connects you to something deeper than hunger, that is what this pie does. Now it is the pie my kids request for birthdays instead of cake.
Ingredients
- 1 9-inch prepared pie crust: Bake it ahead and let it cool completely or the filling will make it soggy
- 3/4 cup creamy peanut butter: The natural oils matter here so avoid the no-stir kind if you can help it
- 1 cup powdered sugar: This creates those signature crumbles that almost melt into the custard layer
- 2/3 cup granulated sugar: Balances the peanut butter without making it cloyingly sweet
- 1/3 cup all-purpose flour: The thickener that turns milk and eggs into silky pudding
- 1/4 teaspoon salt: Wakes up all the flavors and keeps the sweetness in check
- 2 cups whole milk: The richness is non-negotiable here for that proper custard texture
- 3 large egg yolks: Save the whites for another use but do not skip the yolks
- 1 teaspoon pure vanilla extract: Real vanilla makes a difference you can taste
- 2 tablespoons unsalted butter: Adds the finishing gloss and that extra velvety mouthfeel
- 1 cup heavy whipping cream: Cold cream whips up faster and holds its shape longer
- 2 tablespoons powdered sugar: Just enough sweetness for the whipped topping
- 1/2 teaspoon vanilla extract: A little more vanilla never hurt anyone
Instructions
- Make the peanut butter crumbles:
- Mix the peanut butter and powdered sugar with a fork until it looks like damp sand. The texture should clump when you squeeze it.
- Layer the bottom crust:
- Spread half those crumbs in the pie shell and press gently so they stay put. Save the rest for the topping.
- Start the custard base:
- Whisk the granulated sugar, flour, and salt in your saucepan until no lumps remain. Gradually stir in the milk until everything dissolves.
- Cook until thickened:
- Set the pan over medium heat and whisk without stopping. The moment you see bubbles break the surface, keep going for one more minute.
- Temper the egg yolks:
- Whisk your yolks in a separate bowl while the milk heats. Ladle in about half a cup of the hot mixture slowly, whisking constantly so the eggs do not scramble.
- Combine and thicken:
- Pour the warmed eggs back into the saucepan and keep whisking. Two minutes of cooking will give you that glossy, pudding-like consistency.
- Finish the filling:
- Remove from heat and stir in the butter and vanilla. Keep stirring until the butter melts completely and the filling looks smooth and glossy.
- Assemble and chill:
- Pour the warm filling over the peanut butter crumbs. Let it cool for about 15 minutes on the counter before refrigerating for at least two hours.
- Make the whipped topping:
- Beat the cold cream with the powdered sugar and vanilla until stiff peaks form. Spread it generously over the completely chilled pie.
- Finish and serve:
- Scatter the remaining peanut butter crumbs over the top right before serving. They will stay crunchy that way.
 Pin it
 Last summer I brought this pie to a neighborhood potluck and three different people asked for the recipe before they even finished their slices. Something about peanut butter and cream just makes people feel taken care of.
Make It Your Own
A graham cracker crust adds another layer of flavor that plays beautifully with the peanut butter. You could also stir some mini chocolate chips into the crumbles for a buckeye variation that my niece goes absolutely crazy for.
Serving Suggestions
This pie wants to be cold, so keep it chilled until the moment you serve it. A hot cup of coffee or an ice cold glass of milk are the only accompaniments you really need, though fresh berries on the side never hurt anyone.
Storage and Make Ahead Tips
The pie actually tastes better on day two when the flavors have had time to meld. You can make the entire thing up to 24 hours ahead, but add the final crumble topping right before serving for the best texture.
- Leftovers keep covered in the fridge for three days
- The crust may soften slightly over time but the flavor stays perfect
- Freezing is not recommended as the texture changes
 Pin it
 There is something about the simplicity of this pie that reminds me why comfort food earned its name. Hope it finds its way into your family is recipe rotation too.
Recipe FAQs
- → How long should I chill the pie before serving?
-
Refrigerate for at least 2 hours until completely set. For best results, chill 3-4 hours or overnight. This ensures the filling firms up properly for clean slices.
- → Can I make this pie ahead of time?
-
Absolutely! Prepare up to 24 hours in advance. Store covered in the refrigerator. Add whipped cream topping and remaining crumbs shortly before serving for optimal texture.
- → What type of peanut butter works best?
-
Creamy peanut butter is ideal for both the filling and crumb topping. Major brands work perfectly. Avoid natural-style peanut butter with oil separation, as it affects the consistency.
- → Can I use a store-bought crust?
-
Yes, a 9-inch prepared pie crust works wonderfully. For extra flavor, consider a graham cracker or shortbread crust. Bake and cool completely before adding the filling.
- → How do I prevent lumps in the filling?
-
Whisk constantly while cooking the milk mixture. When tempering eggs, add hot liquid very slowly while whisking vigorously. This gradual heating prevents curdling and ensures smoothness.
- → How should I store leftovers?
-
Cover tightly with plastic wrap or transfer slices to an airtight container. Refrigerate for up to 3-4 days. The crust may soften slightly over time, but flavor remains delicious.
