 Pin it
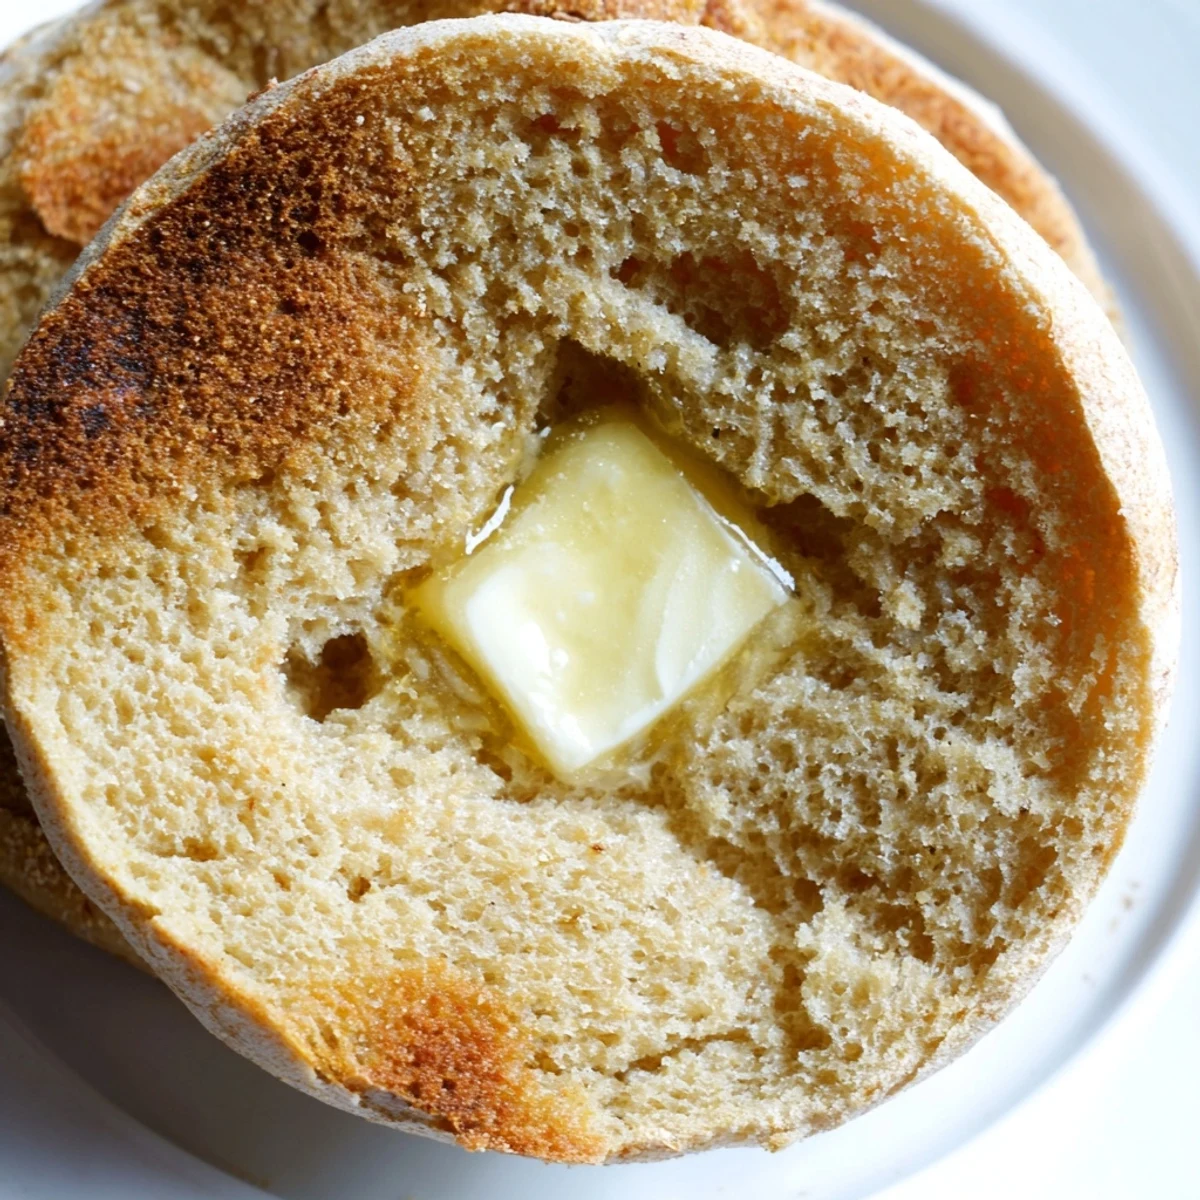
 These classic British-style muffins feature a soft interior with those signature nooks and crannies that perfectly hold melted butter and jam. The dough requires simple pantry ingredients and rises to create delightfully airy textures. Cooked on a griddle, they develop a golden exterior with a satisfying chew. Each batch yields eight muffins, ideal for breakfast or afternoon tea.
It was a rainy Sunday when I finally attempted homemade English muffins after years of buying them from the store. The smell of yeasting dough filled my tiny kitchen, and I remember feeling disproportionately proud when I saw those classic air pockets forming inside. My roommate wandered in, drawn by the buttery aroma, and we stood there splitting warm muffins with forks, watching steam curl up into the gray morning light. Sometimes the simplest recipes are the ones that make you feel like you've actually accomplished something.
I made these for my fathers birthday brunch last spring, not realizing how much the ritual would mean to him. He told me about his grandmother making English muffins on her cast iron skillet, how the whole house would smell like toasted wheat and patience. We spent the morning flipping muffins and talking, and honestly, those breakfast sandwiches tasted like family history.
Ingredients
- Bread flour: Higher protein content than all purpose gives these muffins their characteristic chew and structure
- Whole milk: Adds richness and helps create that tender interior, though lukewarm is key for activating the yeast
- Active dry yeast: The magic behind those beautiful air pockets, so dont rush the proofing time
- Granulated sugar: Feeds the yeast and adds a subtle sweetness that balances the salt
- Fine sea salt: Essential for flavor and helps strengthen the gluten structure
- Unsalted butter: Melted into the dough for extra tenderness and that irresistible buttery taste
- Cornmeal or semolina: Creates the classic dusty coating and prevents sticking while giving authentic crunch
Instructions
- Wake up the yeast:
- Dissolve the yeast and sugar in lukewarm milk, watching it bloom into frothy life over 5 to 10 minutes
- Bring the dough together:
- Combine flour and salt in a large bowl, create a well in the center, pour in your yeast mixture and melted butter, then mix until shaggy
- Knead with purpose:
- Turn onto a floured surface and work the dough for 8 to 10 minutes until smooth and elastic, feeling it transform under your hands
- Let it rise:
- Place in an oiled bowl, cover, and leave in a warm spot for 1 to 1.5 hours until doubled in size
- Shape the muffins:
- Punch down, roll to 3/4 inch thickness, cut with a 3 inch round cutter, and reroll scraps to get about 8 muffins
- Second proof:
- Dust a baking sheet with cornmeal, arrange the muffins, sprinkle more on top, and let proof 25 to 30 minutes until slightly puffed
- Cook to golden perfection:
- Cook on a low medium skillet for 7 to 9 minutes per side until deeply golden and reaching 200F inside
- Serve properly:
- Cool briefly, split with a fork to preserve those precious nooks and crannies, then toast and top however you like
 Pin it
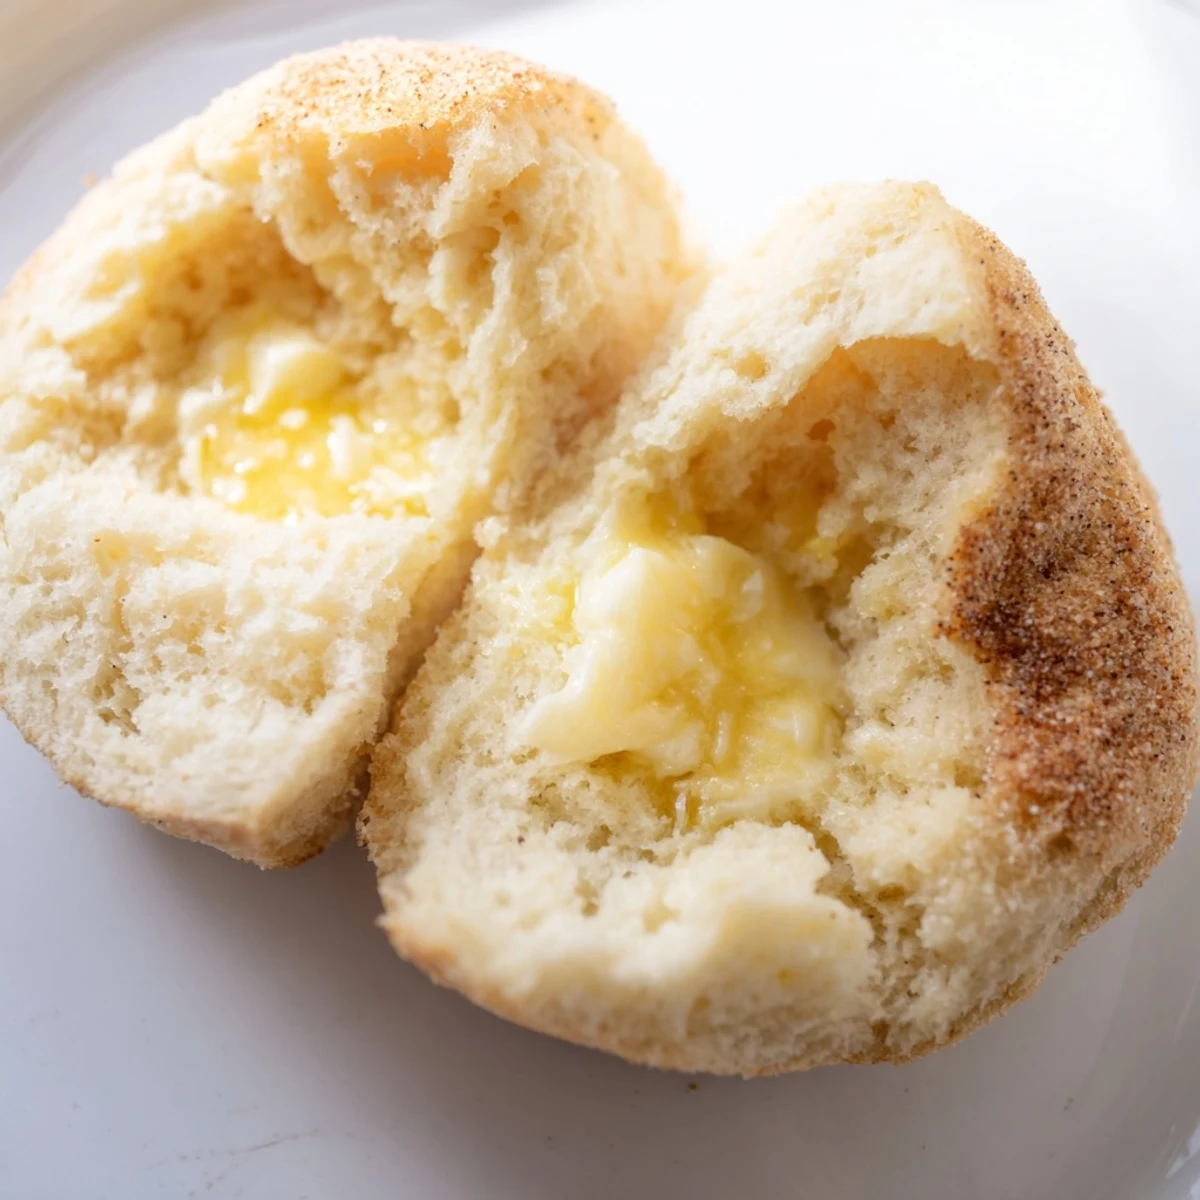
 These became my go to host gift after I brought a batch to a neighbors housewarming. She texted me the next day saying her family had eaten them all before lunch, and now I always keep a stash in the freezer for emergencies or impromptu breakfast guests.
Getting the Rise Right
Temperature matters more than you might think. Too cold and the dough will take forever to rise, too hot and you risk killing the yeast. I learned this the hard way one winter when my drafty kitchen turned a 90 minute proof into a three hour waiting game.
The Skillet Secret
A cast iron skillet distributes heat beautifully and gives you that professional looking golden crust. If you dont have one, any heavy bottomed pan will work, just keep an eye on your heat setting and adjust as you go through batches.
Make Ahead Wisdom
These freeze exceptionally well, which is fortunate because the recipe makes a manageable batch. I slice and freeze them individually, then pop frozen halves directly into the toaster.
- Wrap cooled muffins tightly in plastic wrap and freeze for up to 2 months
- Try adding cinnamon raisins for a sweet variation that pairs perfectly with cream cheese
- Plant based milk and butter work perfectly if you need to make them vegan
 Pin it
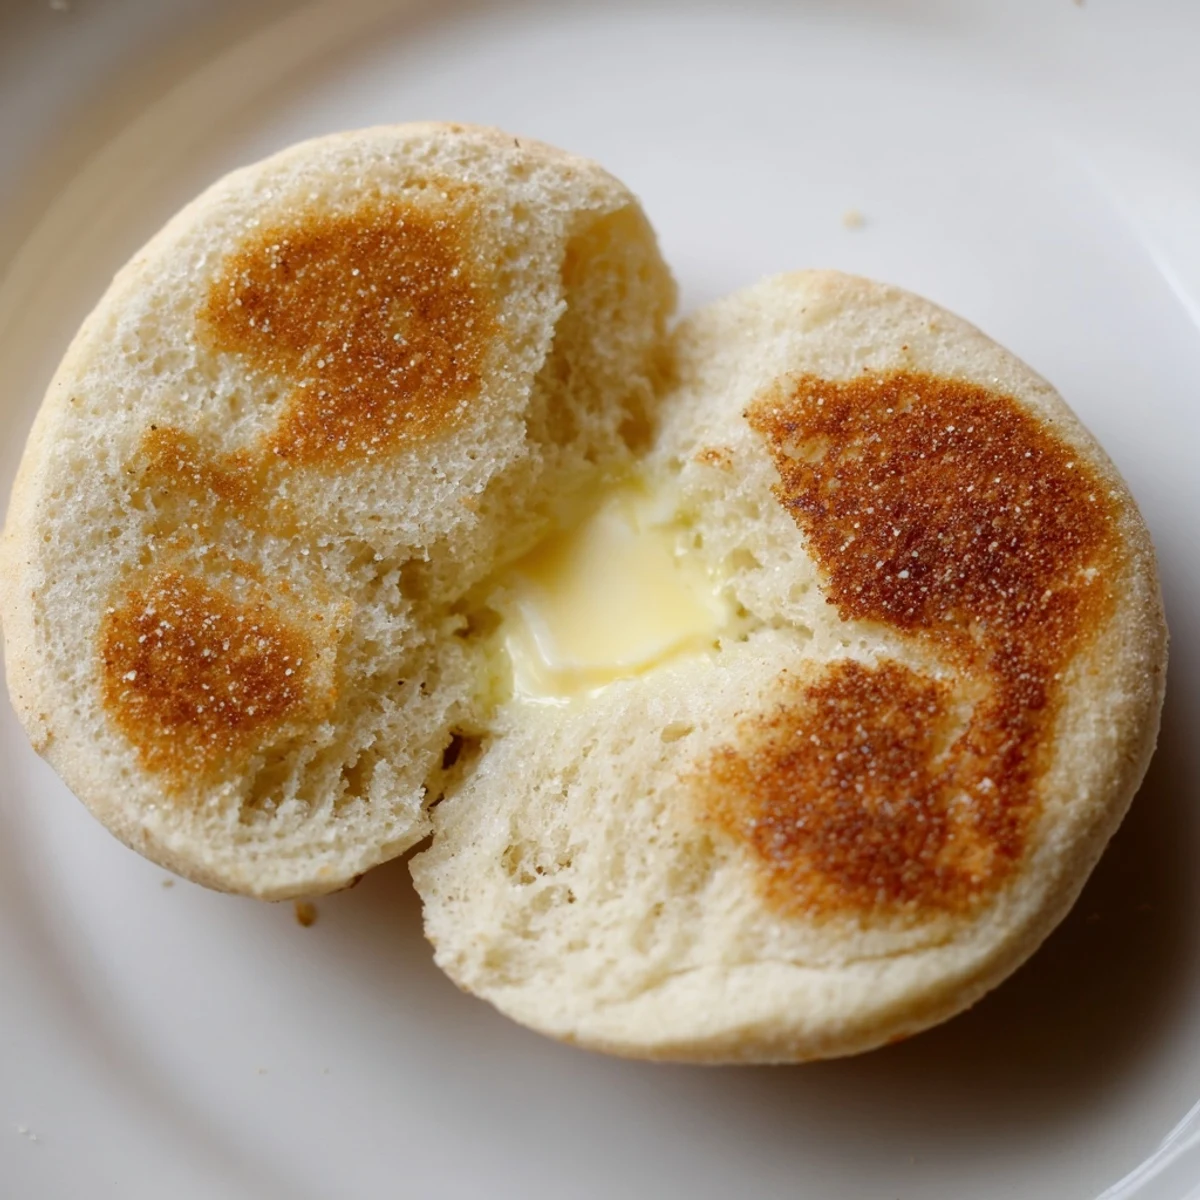
 Theres something profoundly grounding about making your own bread, especially something as deceptively simple as an English muffin. Hope your kitchen fills with that same wonderful buttery warmth.
Recipe FAQs
- → What makes English muffins different from regular bread?
-
English muffins are cooked on a griddle rather than baked, creating their signature golden crust. The dough contains less sugar than sweet breads, and the cooking method produces those distinctive nooks and crannies perfect for holding butter and toppings.
- → Why do I need to split English muffins with a fork?
-
Using a fork to split muffins preserves the rough, textured surface created by those famous nooks and crannies. Cutting with a knife compresses the texture, while forking maintains maximum surface area for butter absorption and creates that traditional rustic appearance.
- → Can I make the dough ahead of time?
-
Yes, after the first rise, you can refrigerate the dough overnight. Let it come to room temperature before rolling and cutting. The cold fermentation actually develops more complex flavors. Alternatively, freeze cut, uncooked muffins on a baking sheet, then transfer to bags for later use.
- → What's the purpose of dusting with cornmeal?
-
Cornmeal prevents the muffins from sticking to the baking sheet during proofing and adds traditional texture. It creates a subtle crunch on the exterior and gives an authentic bakery appearance. Semolina works equally well if you prefer a slightly finer texture.
- → How do I know when the muffins are fully cooked?
-
The muffins should feel firm and spring back when touched. An instant thermometer inserted into the center should read 200°F (93°C). The exterior should be deep golden brown, and both sides should have spent equal time cooking to ensure the inside is completely done without burning the outside.
- → Can I substitute all-purpose flour for bread flour?
-
Bread flour provides higher protein content for better gluten development, creating that characteristic chew. All-purpose flour will work but produces a slightly softer, less elastic texture. For best results, use bread flour or add vital wheat gluten to all-purpose flour to achieve optimal protein levels.
