 Pin it
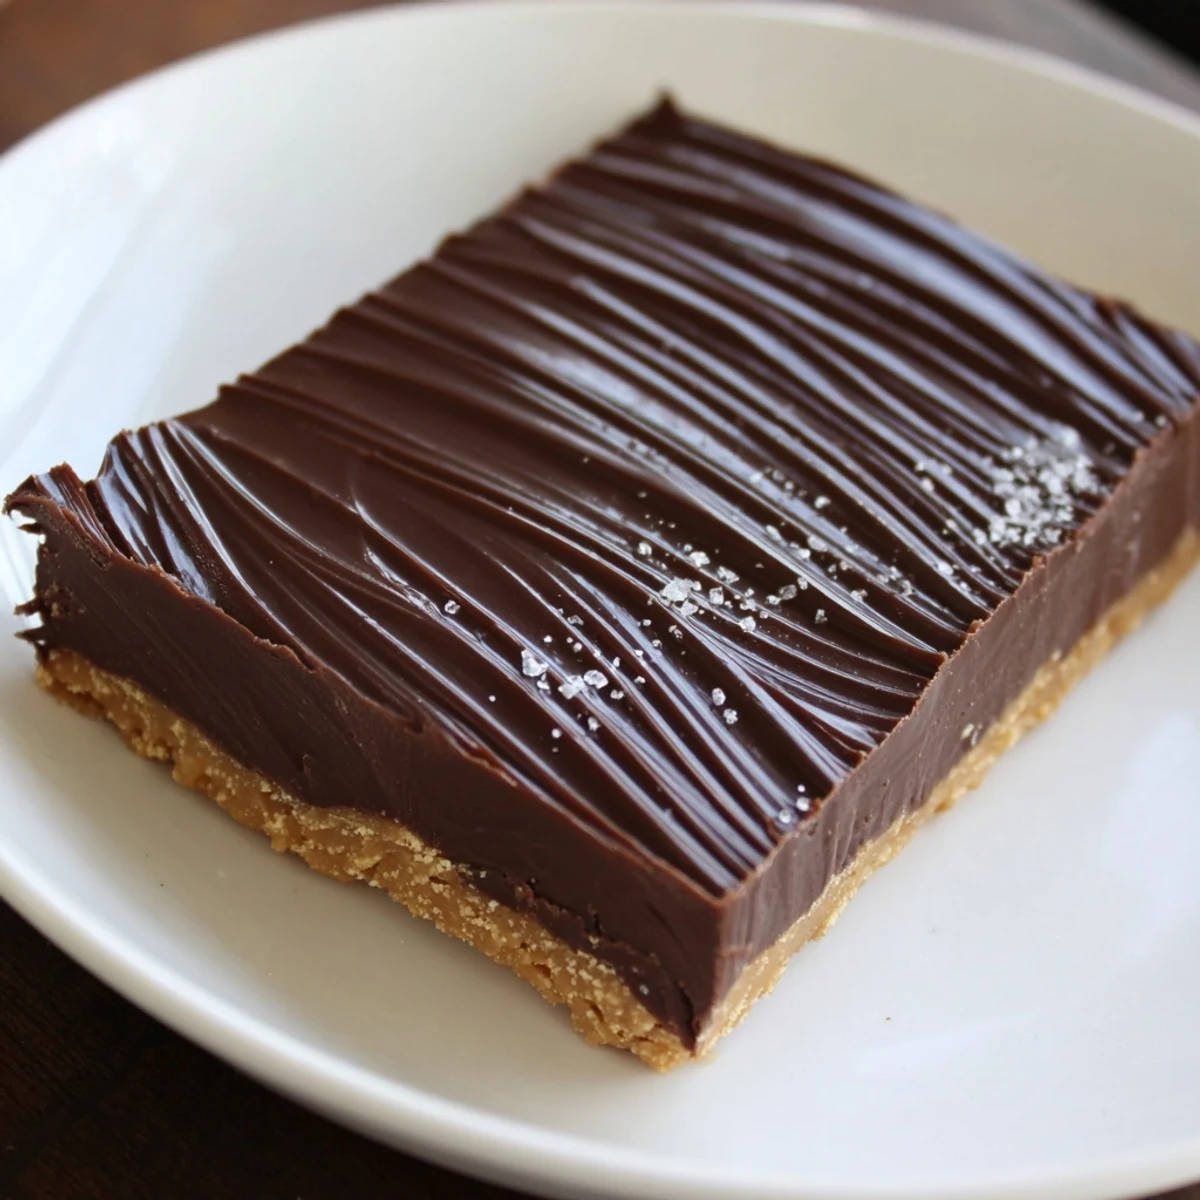
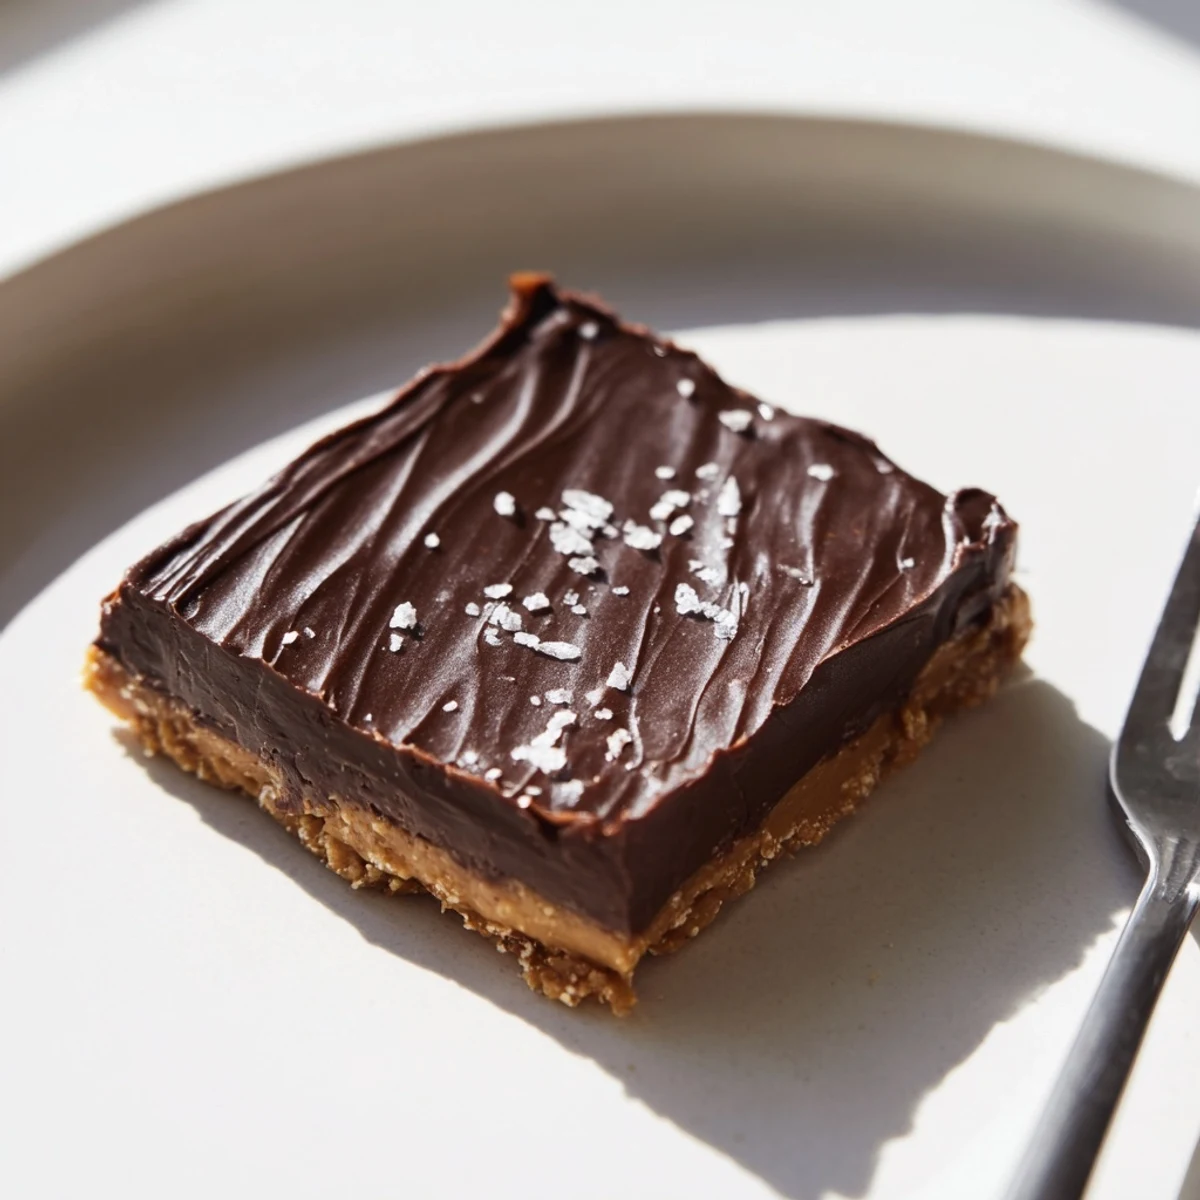
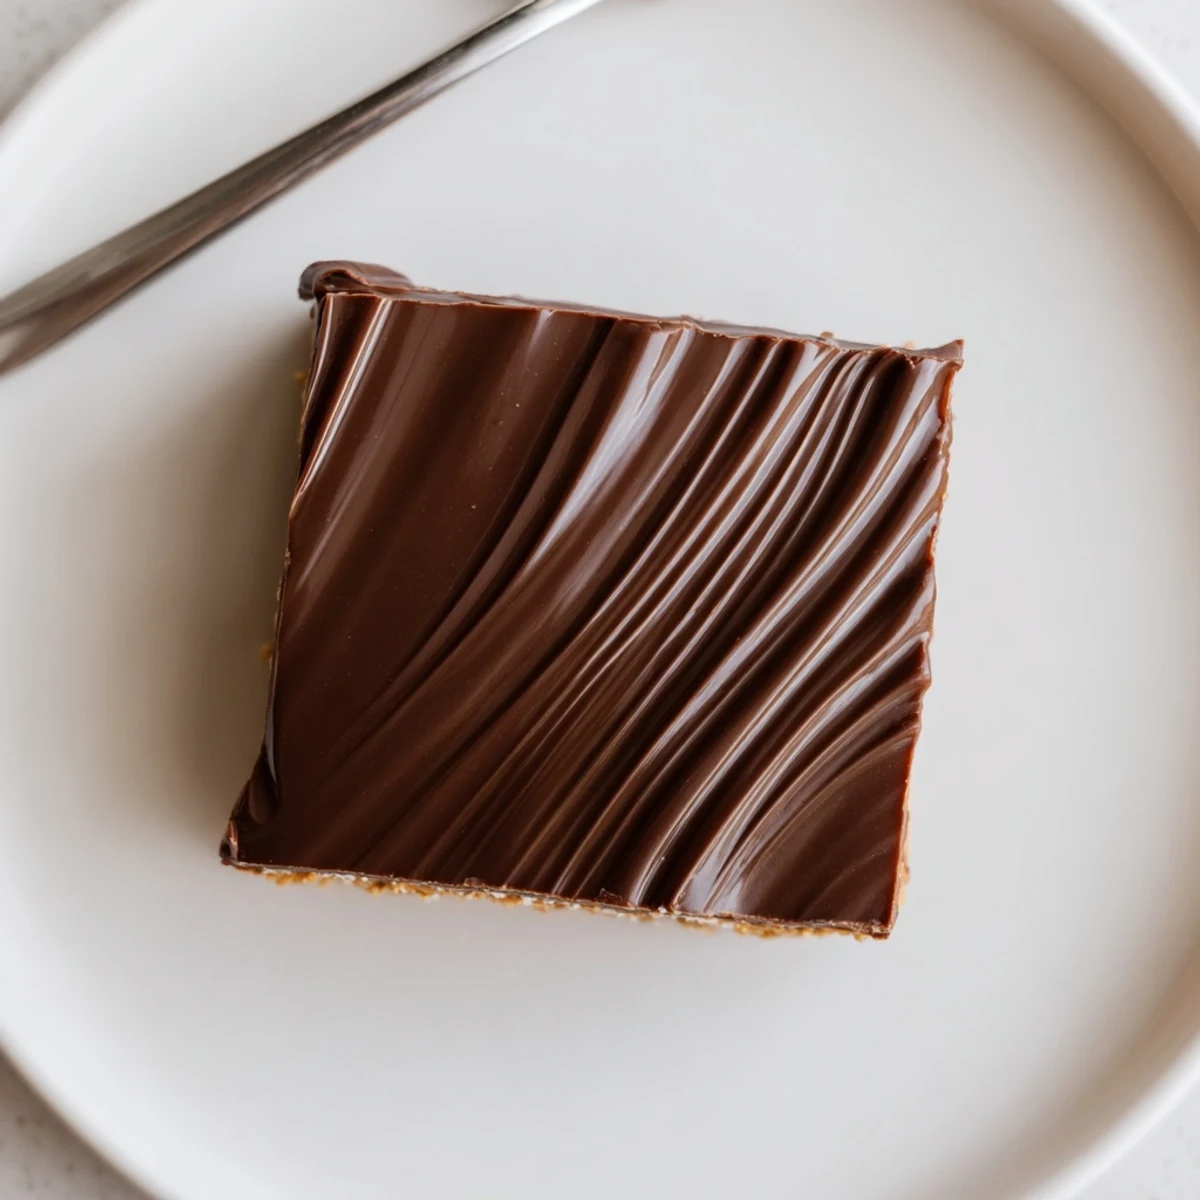
 These no-bake peanut butter bars combine a buttery graham-cracker and powdered-sugar base with a smooth chocolate-peanut butter topping. Prep takes about 20 minutes, then chill at least 2 hours to set. Press the base into an 8x8 pan, melt chocolate with a little peanut butter, spread evenly, and refrigerate. For crunch, use chunky peanut butter or fold in chopped roasted peanuts; store chilled up to one week.
It was a rainy afternoon when I decided to make these No Bake Peanut Butter Bars—mostly because the oven was occupied with a failed sourdough attempt and the cravings were strong. There’s an inescapable glee to realizing dessert is possible without turning on a single burner. The combination of peanut butter and chocolate always wins, but it’s the cold creamy texture that hooked me. Some things are better with zero fuss.
I once brought a pan of these bars to a late-night movie marathon with friends, and I underestimated just how quickly they would disappear. There was laughter—plus a few sticky chocolate fingerprints on the couch, but no one cared. Sharing easy treats is surprisingly memorable.
Ingredients
- Creamy peanut butter: The base’s star—choose a smooth, scoopable brand for the silkiest texture, and stir well if the oil separates.
- Unsalted butter, melted: Brings everything together and adds richness, but I always let it cool slightly so nothing gets greasy.
- Powdered sugar: Dissolves easily into the mix—sift it for lump-free bars and that dreamy melt-in-your-mouth effect.
- Graham cracker crumbs (or digestive biscuits): These give structure and subtle crunch; pulse them fine unless you want more crunch in each bite.
- Vanilla extract: Just half a teaspoon lifts the whole bar and knocks out any ‘raw’ taste from the peanut butter.
- Semi-sweet chocolate chips: They melt perfectly for the topping and bring that classic fudgy finish—don’t skimp on chocolate quality.
- Creamy peanut butter (for topping): Mixing it with chocolate keeps the topping glossy and soft when chilled, never too hard to cut.
Instructions
- Prep your pan:
- Line an 8x8 in baking pan with parchment, leaving some paper to hang over the sides for easy removal.
- Mix base ingredients:
- In a large bowl, blend melted butter and peanut butter until smooth—watch for that lovely marbled swirl as it comes together.
- Add dry ingredients:
- Stir in powdered sugar, graham cracker crumbs, and vanilla; the mixture should be thick and dense, like play-dough.
- Press and smooth:
- Firmly press the dough into the lined pan, smoothing the top with the back of a spatula (I like to use damp hands for a really even finish).
- Melt and mix topping:
- Microwave the chocolate chips and peanut butter in 30-second bursts, stirring between, until velvety and glossy.
- Spread the topping:
- Pour chocolate-peanut butter mix over the base, tilting or swirling the pan for coverage.
- Chill until set:
- Refrigerate for at least two hours until the bars are firm—the hardest part is resisting sneaky tastes before they're ready.
- Lift and cut:
- Use the parchment overhang to pull out the slab, then cut into neat squares with a sharp knife (wipe between cuts for clean edges).
 Pin it
 On one summer afternoon, I caught my partner sneaking the ‘ends’ straight from the fridge before dinner, grinning with a mouthful of chocolate. That’s when I realized, for us, these bars weren’t just dessert—they became a reward for making it through the day.
Making It Your Own
Sometimes I swap in crunchy peanut butter or toss in a handful of chopped peanuts to surprise anyone thinking they know every bite. A light sprinkle of flaky salt before chilling adds a pop of flavor that’s shockingly good. If you're team salty-sweet, don't skip that last step.
Storage and Serving
These bars keep beautifully in the fridge for up to a week, and I actually think they’re best cold for maximum snap and chewiness. When serving to a group, I slice them small—everyone seems to come back for seconds anyway.
Quick Swaps and Troubleshooting
For a gluten-free version, any crunchy gluten-free cookies will work in place of graham crackers. I’ve also learned: don’t use natural peanut butter unless it’s well-stirred, as oil separation means a slick, slippery base. If your topping looks dull after chilling, let it sit at room temperature for a few minutes and it’ll regain its glossy sheen.
- Press firmly so the base stays together once chilled.
- Use parchment paper for easy lifting—no stuck corners.
- Store leftovers in an airtight container so they never dry out.
 Pin it
 I never tire of sneaking one of these chilled bars when nobody is watching. Something about that rich layer and soft bite always feels like a small, well-deserved indulgence.
Recipe FAQs
- → Can I use crunchy peanut butter instead of creamy?
-
Yes. Crunchy peanut butter adds texture to the base and increases crunch. If you prefer a smoother base, use creamy in the base and reserve crunchy for stirring in chopped peanuts on top.
- → How do I melt the chocolate without seizing?
-
Melt chocolate in 20-30 second microwave intervals, stirring between each burst until smooth. Alternatively, use a double boiler over gently simmering water, stirring constantly to avoid overheating.
- → How should I cut clean squares after chilling?
-
Lift the set slab from the pan using the parchment overhang, chill until very firm, then use a hot, dry knife wiped between cuts for clean edges. Warm the knife under hot water and dry it before slicing.
- → Can I make these gluten-free?
-
Yes. Substitute the graham cracker crumbs with gluten-free cookie crumbs or gluten-free graham crackers to keep the same texture and flavor while avoiding gluten.
- → How long will the bars keep in the fridge?
-
Store in an airtight container in the refrigerator for up to one week. For longer storage, freeze individual pieces wrapped tightly and thaw in the fridge before serving.
- → Any tips for enhancing flavor?
-
Add a pinch of flaky sea salt on the chocolate topping to brighten flavors, or stir a touch of vanilla into the base. For variation, fold in chopped roasted peanuts or a sprinkle of cocoa nibs.
