 Pin it
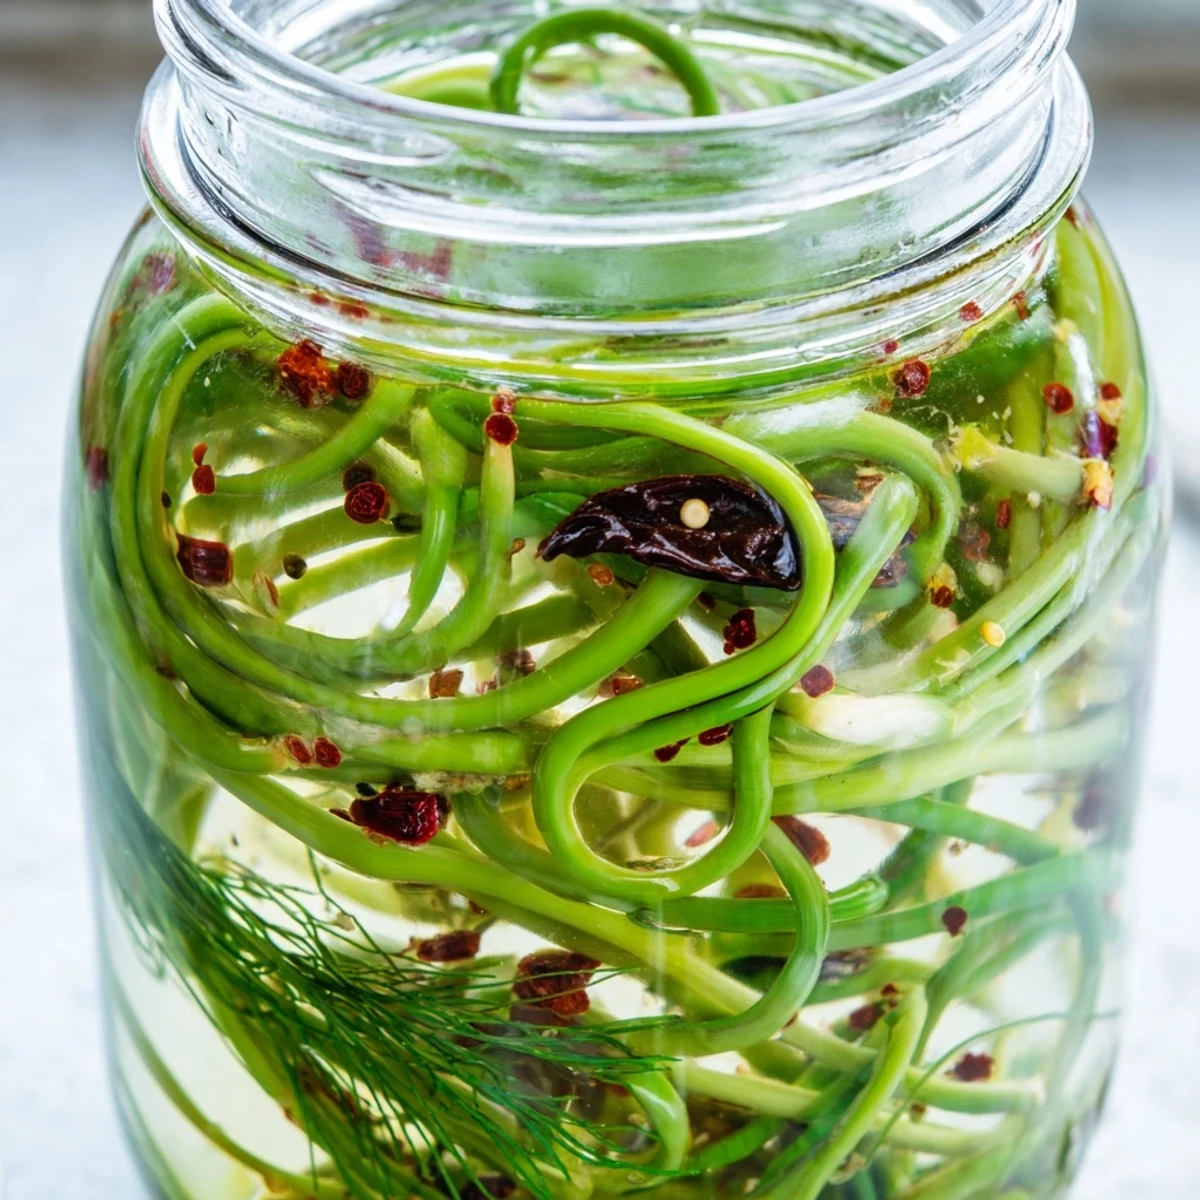
 Transform fresh garlic scapes into tangy, crunchy preserves using a simple vinegar brine infused with aromatic spices. The process combines mustard seeds, coriander, peppercorns, and dried chilies to create layers of flavor that develop beautifully over two to seven days. These versatile preserves add bold zest to charcuterie boards, brighten up sandwiches and salads, or serve as a zesty standalone snack.
The pickling liquid balances acidity with subtle sweetness, ensuring the scapes maintain their satisfying crunch while absorbing complex spice notes. Ready in just 25 minutes of active preparation, these jars develop intensifying flavors during refrigeration, lasting up to a month for continued enjoyment.
The first time I saw garlic scapes curling like green telephone wires at the farmers market, I had no idea what to do with them. The farmer told me they pickle beautifully and keep that fresh garlic kick without the harsh bite. I went home with two massive bunches and experimented until my whole kitchen smelled like vinegar and promise. Now my fridge is never without a jar during scape season.
Last summer I brought a jar to a neighborhood potluck and watched them disappear faster than the fancy imported cheeses. People kept asking what kind of unusual vegetable they were eating, and I loved explaining that these curly green shoots are actually garlic flowers in the making. My neighbor now requests them every time she sees scapes at the market.
Ingredients
- 300 g fresh garlic scapes: Pick curly bright green ones without brown spots or yellowing
- 250 ml distilled white vinegar: The clean flavor lets the scapes shine without competing notes
- 250 ml water: Dilutes the vinegar just enough so the brine isnt harsh
- 2 tbsp granulated sugar: Balances the tang and helps the spices bloom
- 1 tbsp kosher salt: Use Diamond Crystal for the cleanest pickle flavor
- 1 tsp black peppercorns: Adds subtle warmth behind the bright vinegar
- 1 tsp mustard seeds: They pop between your teeth and add classic pickle energy
- 1 tsp coriander seeds: Their citrusy brightness pairs perfectly with garlic
- 1/2 tsp red pepper flakes: Adjust up if you like noticeable heat
- 2 small dried chilies: Tuck these in for a slow burn that develops over time
- 2 bay leaves: Earthy foundation that keeps everything grounded
- 4 sprigs fresh dill: Totally optional but adds that familiar pickle note we all love
Instructions
- Get your jars ready:
- Wash those pint jars and lids with hot soapy water then either boil them for 10 minutes or run them through a hot dishwasher cycle while you work.
- Prep the scapes:
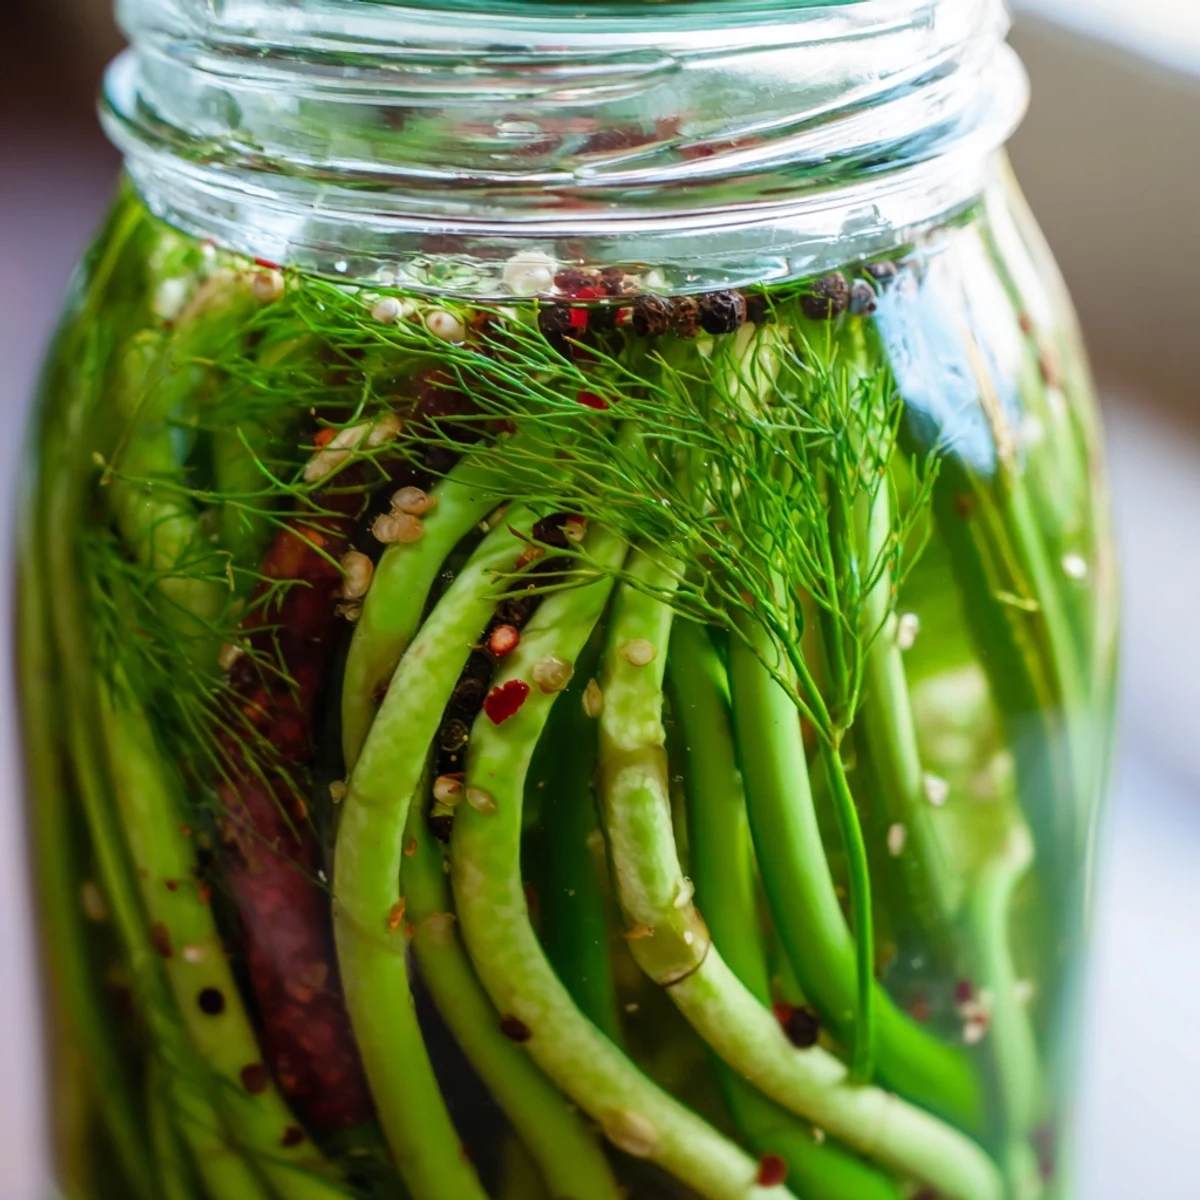
- Trim off the woody root end then cut the scapes to match the height of your jars curling them playfully so they tuck inside without forcing.
- Start packing:
- Divide the scapes evenly between your two jars along with the fresh dill if youre using it and tuck those dried chilies down the sides.
- Layer in the spices:
- Split the peppercorns mustard seeds coriander seeds red pepper flakes and bay leaves between both jars so each gets the same treatment.
- Boil the brine:
- Combine vinegar water sugar and salt in a saucepan and bring it to a rolling boil stirring until the sugar and salt completely disappear.
- Pour it hot:
- Carefully fill each jar with the steaming brine making sure every scape is fully submerged and leaving about half an inch of space at the top.
- Seal and chill:
- Screw on those lids tight then let everything cool to room temperature on the counter before tucking them into the fridge.
- Wait it out:
- Let them sit for at least 48 hours though I promise the flavor gets phenomenal after a full week of developing.
 Pin it
 My dad who claims to hate pickles of any kind took one skeptical bite and immediately asked for the jar to take home. Now he texts me every spring asking when scape season starts so he can get his stash going. Watching someone convert from pickle skeptic to garlic scape evangelist might be my favorite kitchen victory yet.
Serving Ideas That Work
These scapes shine brightest when they have something rich to balance against. I love them piled next to sharp cheddar on crackers or tucked into turkey sandwiches where their crunch wakes everything up. They also add brilliant contrast to heavy braised meats or grain bowls that need something bright and acidic.
Making Them Your Own
Once you master the basic brine the variations become endless. Try swapping in rice vinegar for a gentler sweetness or throw in some sliced radishes and carrots for a mixed pickle medley. I sometimes add a smashed garlic clove or two for extra punch though the scapes provide plenty on their own.
Storage And Timing
Keep these jars in the refrigerator where they will stay happily crunchy for about a month. The flavors continue evolving so taste at different stages to see what timeline you prefer best. For longer storage you could process these in a water bath but honestly they never last long enough around here to bother.
- Always use a clean fork when removing scapes to avoid introducing bacteria
- If the brine gets low top it off with more vinegar water mixture
- The scapes might soften slightly after three weeks but still taste delicious
 Pin it
 There is something deeply satisfying about preserving the fleeting strange beauty of spring in a simple jar. Every time I open one that bright garlicky tang reminds me why preserving food feels like holding onto time itself.
Recipe FAQs
- → How long should garlic scapes pickle before eating?
-
Allow at least 48 hours for flavors to develop. The taste intensifies significantly after one week of refrigeration, making them even more zesty and aromatic.
- → Can I adjust the spice level?
-
Absolutely. Increase red pepper flakes or add extra dried chilies for more heat. For milder results, reduce chili quantities while maintaining the aromatic spice blend.
- → How long do pickled scapes last?
-
Properly refrigerated, these maintain quality for up to one month. Ensure lids are sealed tightly and scapes remain fully submerged in brine.
- → What dishes pair well with pickled garlic scapes?
-
They excel alongside grilled meats, cheese boards, and charcuterie. Add to sandwiches, salads, or enjoy straight from the jar as a bold tangy snack.
- → Can I add other vegetables?
-
Sliced carrots or radishes work beautifully. Maintain the same pickling time and enjoy mixed vegetable jars with varied textures and flavors.
