 Pin it
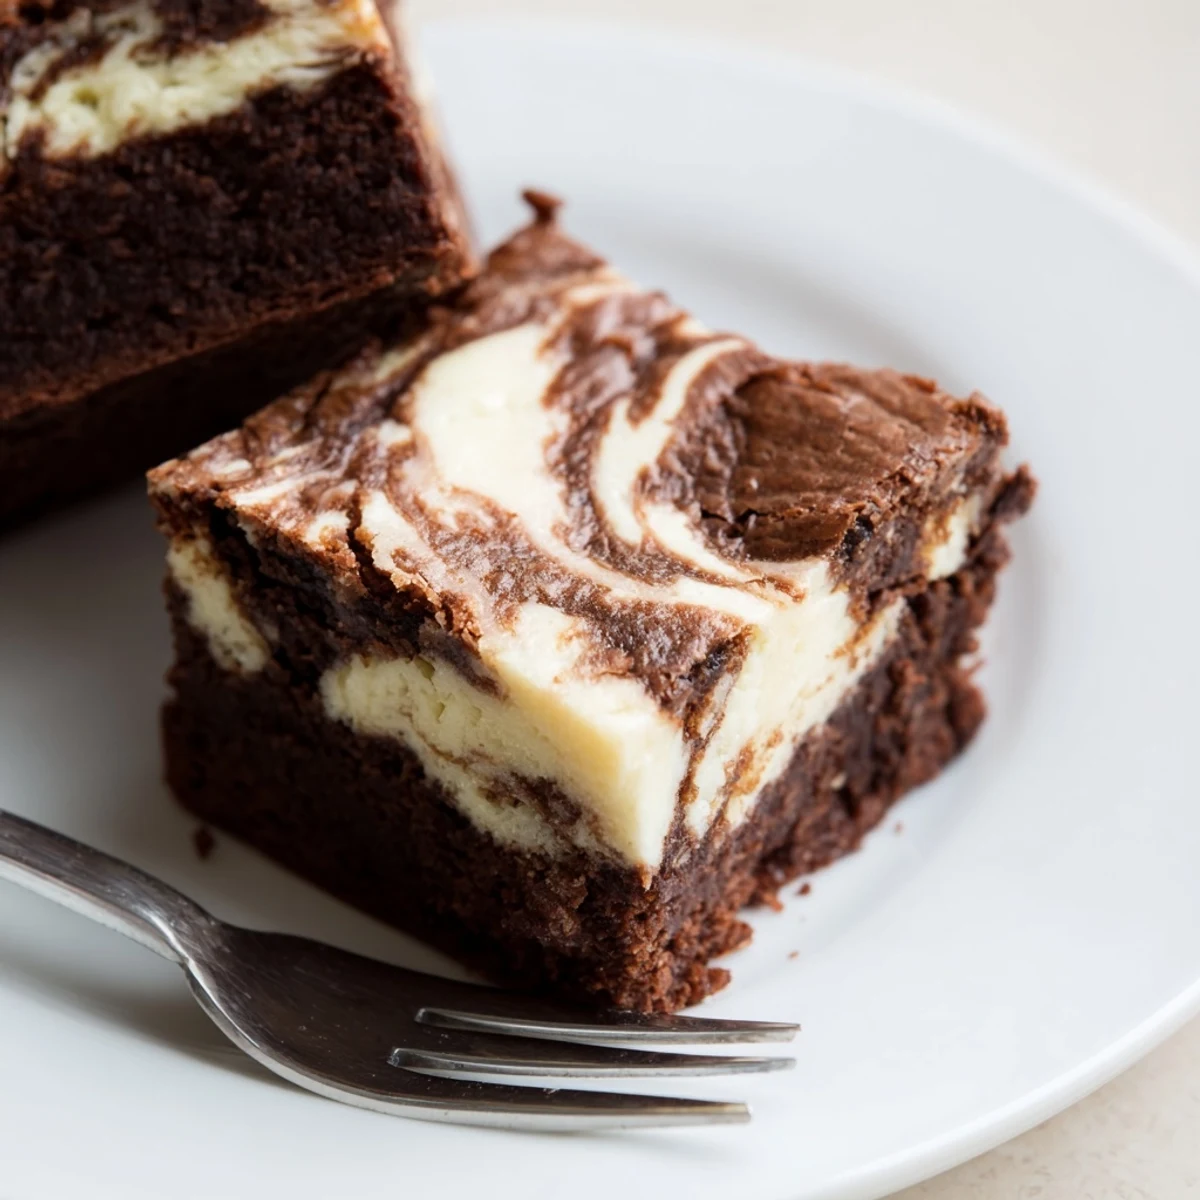
 These rich, fudgy chocolate brownies feature a luxurious cream cheese swirl that creates a beautiful marbled pattern. The dark chocolate base delivers intense cocoa flavor while the tangy cream cheese layer adds a delightful contrast in both taste and texture.
Perfect for gatherings or special occasions, these bars come together in just 55 minutes. The trick to achieving that signature swirled appearance is dropping spoonfuls of brownie batter over the cheesecake layer and gently running a knife through both mixtures.
For the ultimate fudgy texture, slightly underbake and refrigerate before cutting. Store them chilled for up to five days.
The first time I made these swirled brownies was actually by accident. I had leftover cream cheese from a bagel experiment and couldn't bear to let it go to waste, so I just dolloped it on top of my standard brownie batter. The marble pattern came out completely chaotic but my roommate Sarah took one bite and declared them the best thing to ever come out of our tiny apartment oven.
Last summer I brought these to a potluck and watched them disappear in under fifteen minutes. My friend's daughter kept coming back to the dessert table and finally asked if I could teach her how to make the swirl pattern, which honestly just made my entire week.
Ingredients
- Unsalted butter: Melt it slowly so it doesn't separate and gives your brownies that velvety texture
- Granulated and light brown sugar: The combination creates those crackly tops we all love while keeping the center moist
- Large eggs: Room temperature eggs incorporate better and prevent that weird grainy texture
- Vanilla extract: Don't skimp here because it balances the intense chocolate flavor
- All-purpose flour: Measure by weight if you can because too much flour makes brownies cakey instead of fudgy
- Unsweetened cocoa powder: Dutch-processed gives a deeper chocolate flavor but natural works too
- Salt: Essential for making all those chocolate flavors pop
- Dark chocolate: Chop it yourself from a good bar for those melty pockets of pure joy
- Cream cheese: Really softened to room temperature prevents lumps in your swirl layer
- Extra sugar egg and vanilla for swirl: This simple mixture bakes into that creamy cheesecake layer
Instructions
- Preheat your oven and prepare the pan:
- Crank your oven to 175°C (350°F) and line a 20x20 cm (8x8 inch) baking pan with parchment paper, leaving those little wings hanging over the sides so you can lift the whole thing out later like a proud baker.
- Make the brownie batter base:
- Whisk together that melted butter with both sugars until it looks glossy and smooth, then beat in your eggs and vanilla until everything's fully combined and the mixture pulls away from the sides of the bowl.
- Add the dry ingredients:
- Sift in the flour, cocoa powder, and salt, then stir gently until just barely combined, and fold in your chopped dark chocolate so those chunks stay evenly distributed throughout the batter.
- Layer it up:
- Set aside about 1/4 cup of the brownie batter in a small bowl, then pour the rest into your prepared pan and smooth the top into an even layer.
- Whip up the cheesecake swirl:
- In a completely separate bowl, beat that softened cream cheese until it's creamy and smooth, then add the sugar, egg, and vanilla, mixing until there are absolutely no lumps left.
- Layer and swirl:
- Spread the cheesecake mixture evenly over your brownie batter, then drop spoonfuls of that reserved brownie batter all over the top and run a knife through both layers in a figure-eight pattern to create that marble effect.
- Bake to perfection:
- Slide the pan into your preheated oven and bake for 32 to 35 minutes until the center is just set and a toothpick comes out with those perfect moist crumbs.
- Cool completely:
- This is the hard part but you absolutely must let them cool completely in the pan before lifting out and cutting into squares or they'll just fall apart on you.
 Pin it
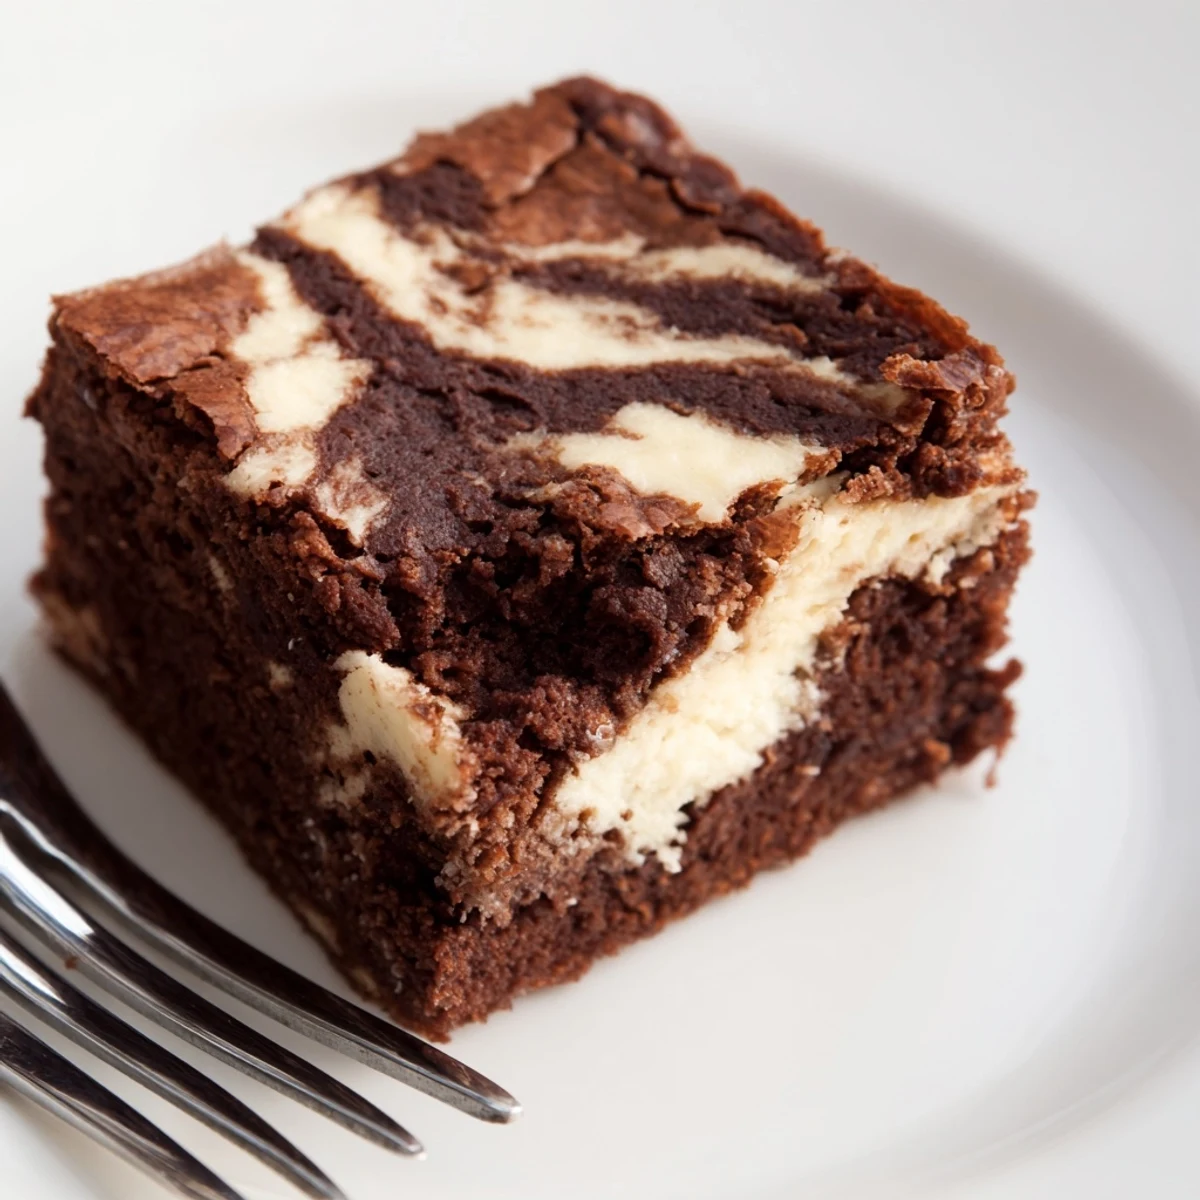
 These brownies have become my go-to for whenever someone needs a little pick-me-up. Something about that combination of rich chocolate and creamy cheesecake just feels like giving someone a hug in dessert form.
Getting That Perfect Swirl
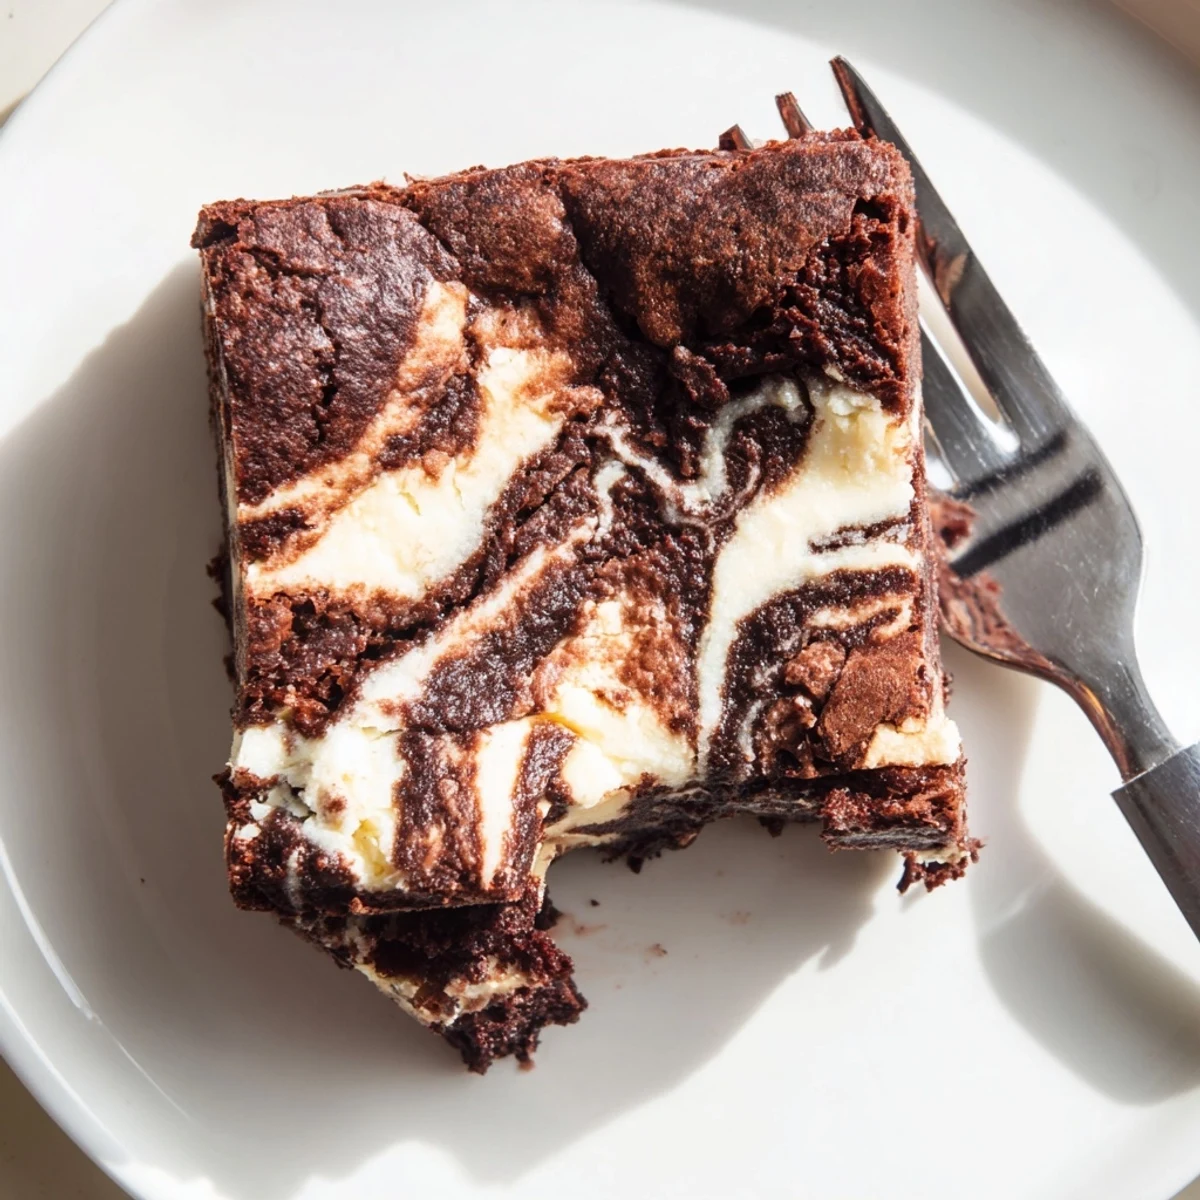
The trick is to not overthink the marble pattern. I used to try to make it look perfect and ended up just blending the two layers together completely. Now I just drop the brownie batter in random dollops and drag a knife through once or twice, and somehow that creates the most beautiful swoops every time.
Pan Choice Matters
Light-colored metal pans give you the best results because glass and dark pans can cause the edges to overcook before the center is done. If you only have glass, reduce the oven temperature by about 10 degrees and start checking them a few minutes early.
Make-Ahead Magic
These actually taste better on day two when the flavors have had time to meld together. I've made them the night before a party, wrapped them tightly in foil, and kept them in the refrigerator until serving time. The texture becomes even more fudgy and that cheesecake layer firms up beautifully.
- Warm individual squares in the microwave for 15 seconds if serving cold
- Dust with powdered sugar right before serving for extra wow factor
- Always use a sharp knife and wipe it clean between cuts for those perfect neat edges
 Pin it
 Every time I pull a batch of these from the oven, I'm reminded of why baking is worth all the effort. There's something magical about watching that swirl bake into something that looks so fancy but tastes like pure comfort.
Recipe FAQs
- → How do I know when the brownies are done baking?
-
Insert a toothpick into the center—it should come out with a few moist crumbs rather than completely clean. The edges should be set while the center still has a slight jiggle.
- → Can I make these ahead of time?
-
Absolutely. These actually taste better after chilling overnight. The flavors develop and the texture becomes perfectly fudgy. Store in an airtight container in the refrigerator.
- → What's the best way to achieve clean swirls?
-
Drop small spoonfuls of the reserved brownie batter over the cheesecake layer, then run a knife or skewer through the mixtures in a figure-eight pattern. Don't over-swirl or you'll lose the marbled effect.
- → Can I freeze these brownies?
-
Yes, wrap individual squares tightly in plastic wrap and freeze for up to 3 months. Thaw in the refrigerator overnight before serving.
- → Why do I need to reserve some brownie batter?
-
The reserved batter creates those beautiful dark swirls on top of the cream cheese layer. Without it, you'd just have a two-layer bar instead of the classic marbled appearance.
- → What type of chocolate works best?
-
Dark chocolate with 60-70% cocoa content provides the richest flavor. You can use chopped bars or high-quality chips depending on what you have available.
