 Pin it
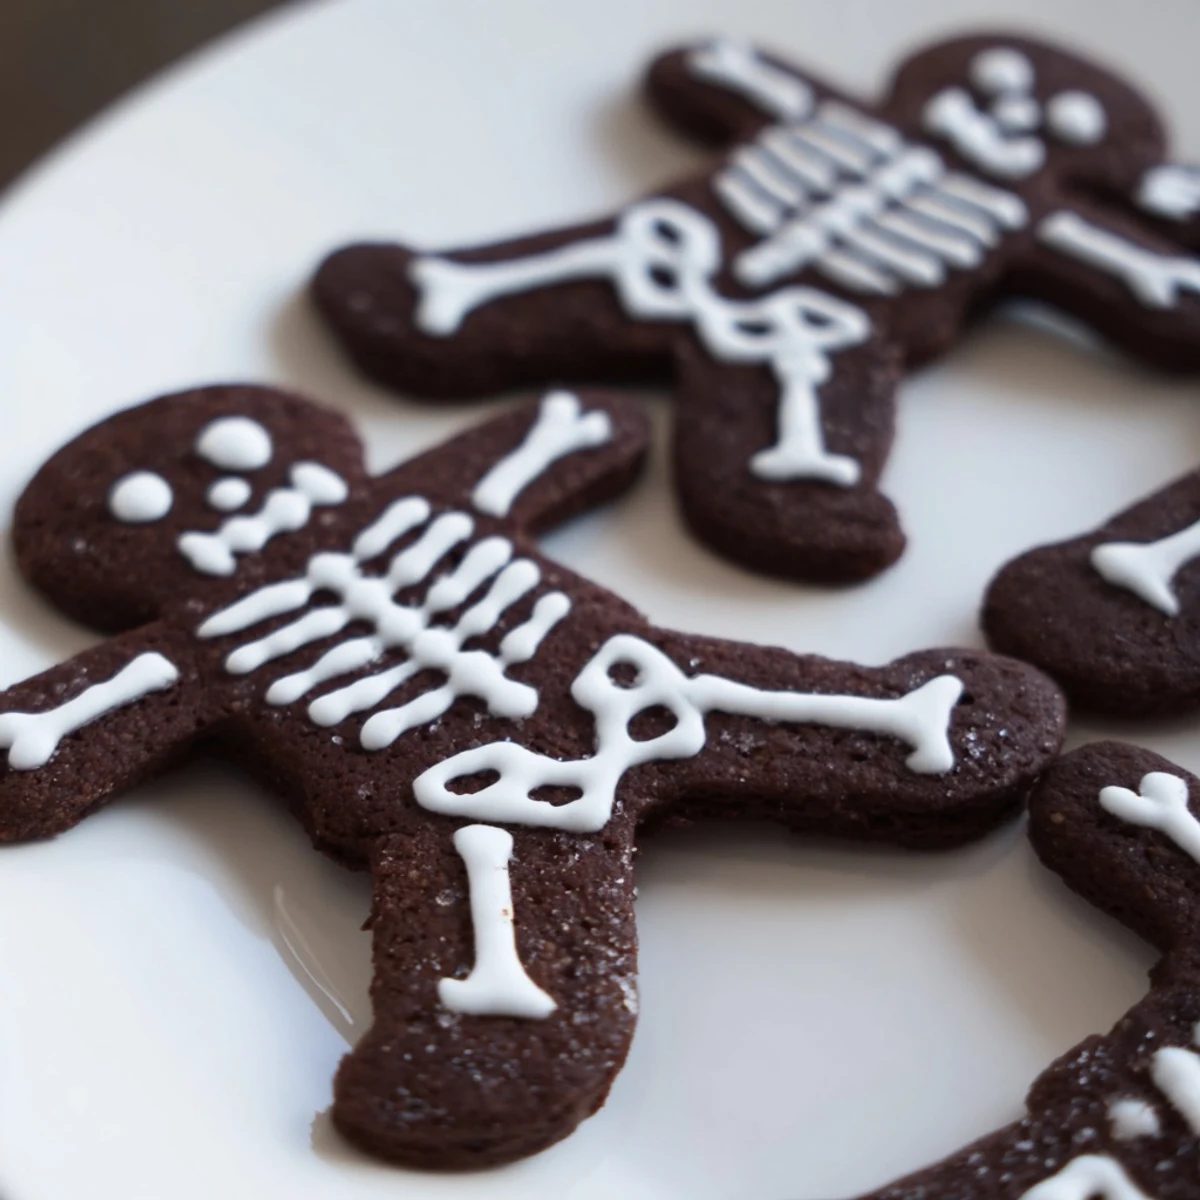
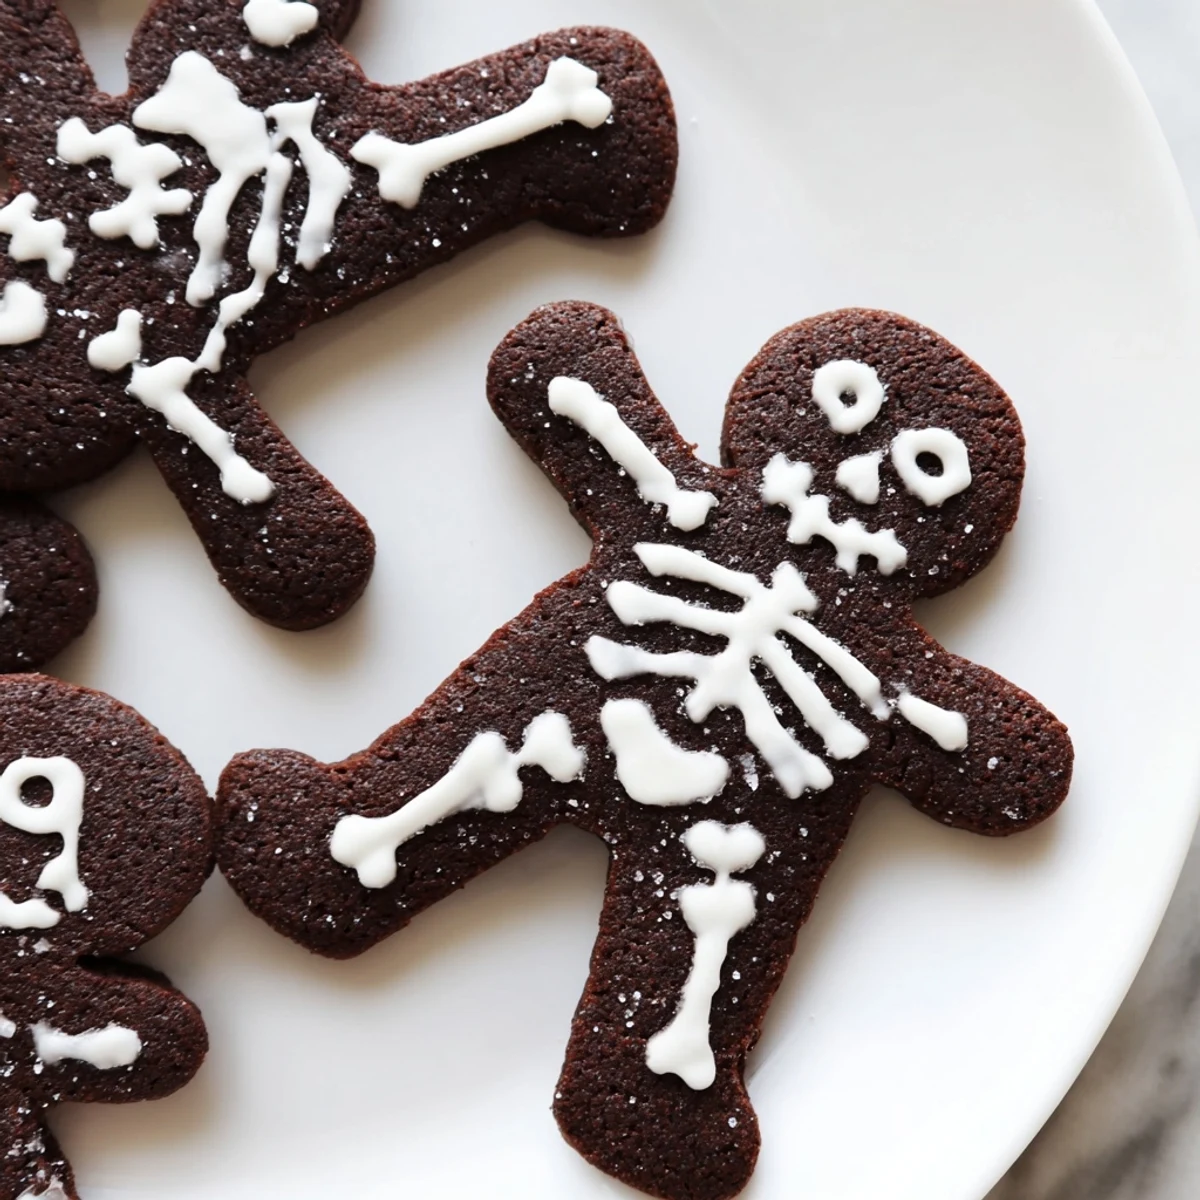
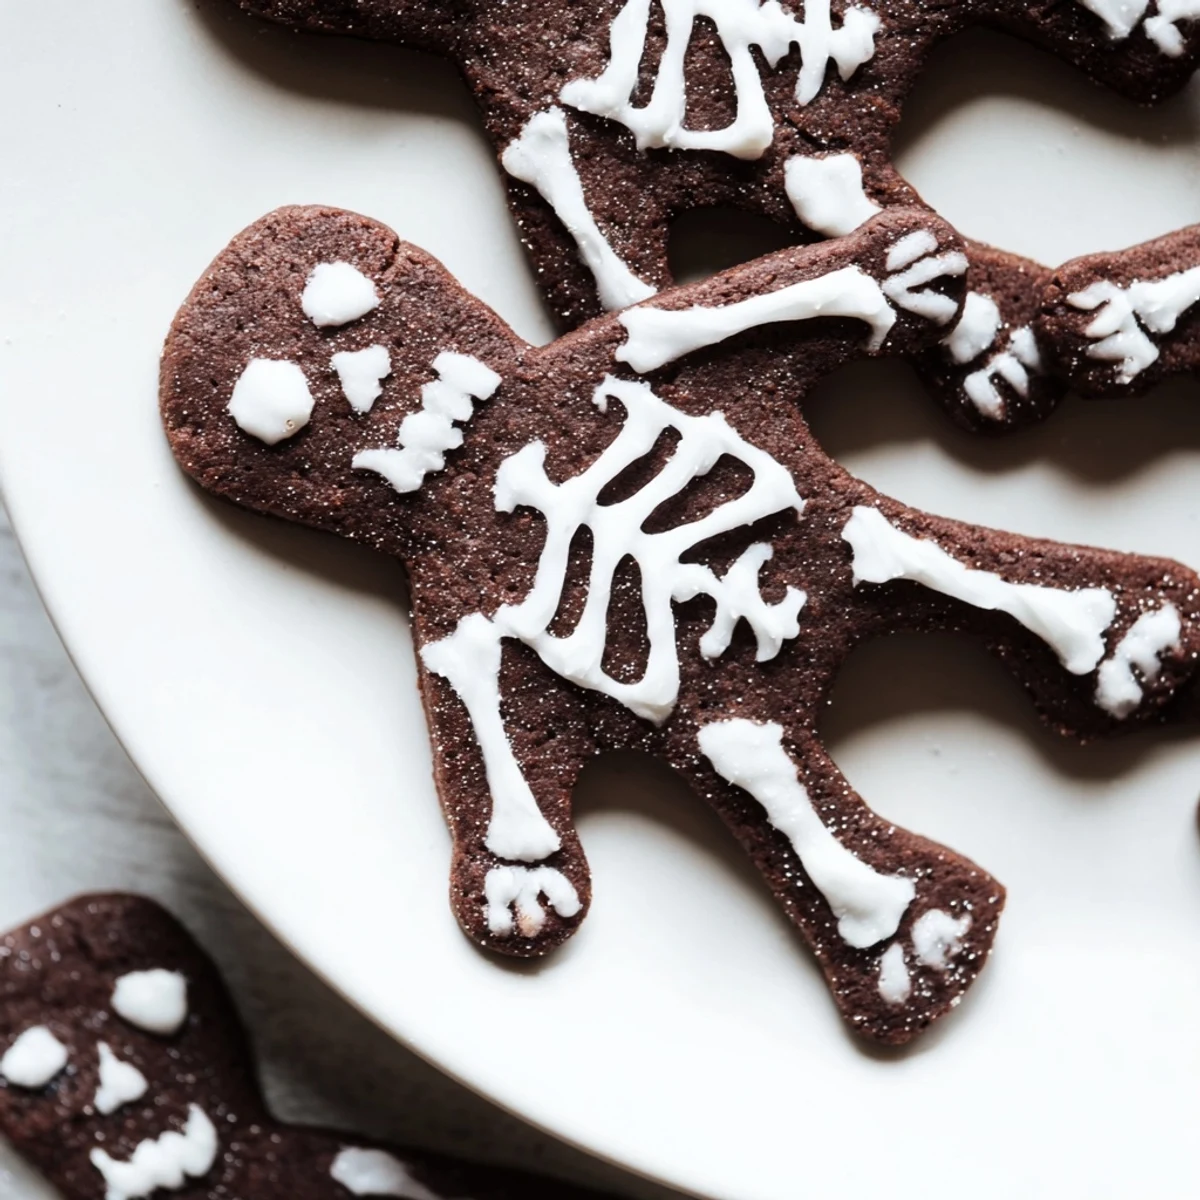
 These delightful chocolate cinnamon cookies bring spooky charm to your Halloween table. The rich cocoa dough warming with ground cinnamon creates the perfect canvas for skeleton-shaped treats decorated with smooth royal icing.
Prepare the dough by combining flour, cocoa powder, cinnamon, baking powder, and salt. Cream butter and sugar until fluffy, then blend in egg and vanilla. Incorporate dry ingredients until dough forms, then chill for 30 minutes.
Roll out the chilled dough, cut skeleton shapes, and bake at 350°F for 10-12 minutes. While cooling, prepare royal icing using powdered sugar and egg whites. Pipe skeleton designs onto cooled cookies and let dry completely before serving.
The result is 24 perfectly spiced, adorably creepy treats that store well for up to a week. Add a pinch of cayenne for extra warmth or white chocolate chips for decorative flair.
The smell of cinnamon and cocoa filled my entire apartment last October when I first attempted these skeleton cookies. My kitchen counter was covered in flour, piping bags were threatening to burst, and I had cookie dough stuck to my elbow somehow. But when that first batch came out of the oven, dark and spiced, I knew they were something special.
Last year I made these for my nieces Halloween party and watched them carefully examine each skeleton design before devouring them. One of them declared the rib bones the best part, which still makes me smile every time I pipe those little lines.
Ingredients
- All-purpose flour: The structure that holds everything together, dont skip the sifting if you can help it
- Unsweetened cocoa powder: Use a good quality Dutch processed cocoa for the deepest chocolate flavor
- Ground cinnamon: Warm spice that cuts through the rich chocolate and gives these cookies their signature warmth
- Baking powder: Just enough to give the cookies a slight lift without losing their crisp edges
- Salt: Essential to balance the sweetness and enhance all the chocolate notes
- Unsalted butter: Room temperature is crucial here, soft but not melting or greasy
- Granulated sugar: Creates the perfect crunch on the edges while keeping centers tender
- Large egg: Binds the dough and adds richness, let it come to room temperature first
- Vanilla extract: Pure vanilla makes a difference you can actually taste
- Powdered sugar: Sift it twice or you will never get the lumps out of your icing
- Egg white: Fresh egg white creates a hard drying royal icing, or use meringue powder for food safety peace of mind
- Water: Add it drop by drop until the icing reaches the right consistency
Instructions
- Whisk your dry ingredients:
- In a medium bowl, combine the flour, cocoa powder, cinnamon, baking powder, and salt until everything is evenly distributed and no cocoa clumps remain
- Cream the butter and sugar:
- Beat the butter and sugar in a large bowl until the mixture is pale and fluffy, about 2 full minutes, this creates the cookie texture
- Add the egg and vanilla:
- Mix in the egg and vanilla extract until fully incorporated, scraping down the sides of the bowl to ensure everything is combined
- Combine wet and dry:
- Gradually add the dry ingredients to the butter mixture, mixing just until a dough forms, do not overmix or the cookies will be tough
- Chill the dough:
- Divide the dough in half, flatten each portion into disks, wrap tightly in plastic, and refrigerate for at least 30 minutes, this step is non negotiable
- Prep your baking space:
- Preheat your oven to 350 degrees Fahrenheit and line two baking sheets with parchment paper before you start rolling
- Roll and cut:
- On a lightly floured surface, roll the dough to exactly one quarter inch thickness and cut out skeleton or gingerbread man shapes
- Bake to perfection:
- Place cookies on the prepared sheets and bake for 10 to 12 minutes until the edges are set, they will firm up as they cool
- Make the royal icing:
- Beat the egg white or meringue powder with powdered sugar and water until smooth and thick enough to hold its shape
- Decorate your skeletons:
- Transfer the icing to a piping bag fitted with a fine tip and pipe skeleton designs, then let them dry completely before stacking
 Pin it
 My husband still talks about the batch where I accidentally made all the skeletons dancing instead of standing straight. Sometimes the happy accidents end up being the most memorable ones.
Getting The Dough Just Right
The dough will feel slightly softer than regular sugar cookie dough because of the cocoa powder. Do not be tempted to add more flour, the cocoa needs the moisture to properly hydrate and develop that deep chocolate flavor during baking.
Rolling And Cutting Tips
Work with one disk of dough at a time, keeping the other in the refrigerator. If the dough becomes too warm and sticky while rolling, pop it back in the fridge for ten minutes. The colder the dough, the cleaner your skeleton shapes will be.
Icing Like A Pro
Start with the larger bone shapes first and let them dry for a few minutes before adding the smaller details. This prevents the lines from bleeding together and keeps your skeleton designs crisp and professional looking.
- Keep a toothpick handy to fix any small piping mistakes before the icing sets
- If you want colored icing, use gel food coloring rather than liquid to maintain consistency
- Store decorated cookies between layers of parchment paper to protect your designs
 Pin it
 These cookies have become my October tradition, and I hope they find their way into your kitchen too. Happy baking and happy haunting.
Recipe FAQs
- → How long should I chill the cookie dough?
-
Refrigerate the dough for at least 30 minutes after dividing it into disks. This chilling time helps firm the butter, making the dough easier to roll and preventing the cookies from spreading too much during baking.
- → Can I make the dough ahead of time?
-
Yes, you can prepare the dough and refrigerate it for up to 2 days before baking. Wrap the disks tightly in plastic wrap and let them soften slightly at room temperature before rolling out.
- → What type of cookie cutter works best?
-
A gingerbread man cookie cutter creates the classic skeleton shape. Look for cutters with elongated limbs that make piping skeleton details easier. Any human-shaped cutter around 4-5 inches tall works perfectly.
- → How do I get the right icing consistency?
-
The royal icing should be smooth and pipeable—thick enough to hold its shape but thin enough to flow easily through a piping tip. Start with 2 tablespoons of water and add more as needed, mixing thoroughly after each addition.
- → Can I freeze these cookies?
-
Freeze undecorated baked cookies in an airtight container for up to 3 months. Thaw at room temperature before decorating. Alternatively, freeze the dough disks for up to 3 months and thaw in the refrigerator before rolling and baking.
- → What's the best way to store decorated cookies?
-
Keep completely dried cookies in an airtight container at room temperature for up to a week. Place parchment paper between layers to prevent the icing from smudging. Avoid refrigeration as moisture can soften the icing.
