 Pin it
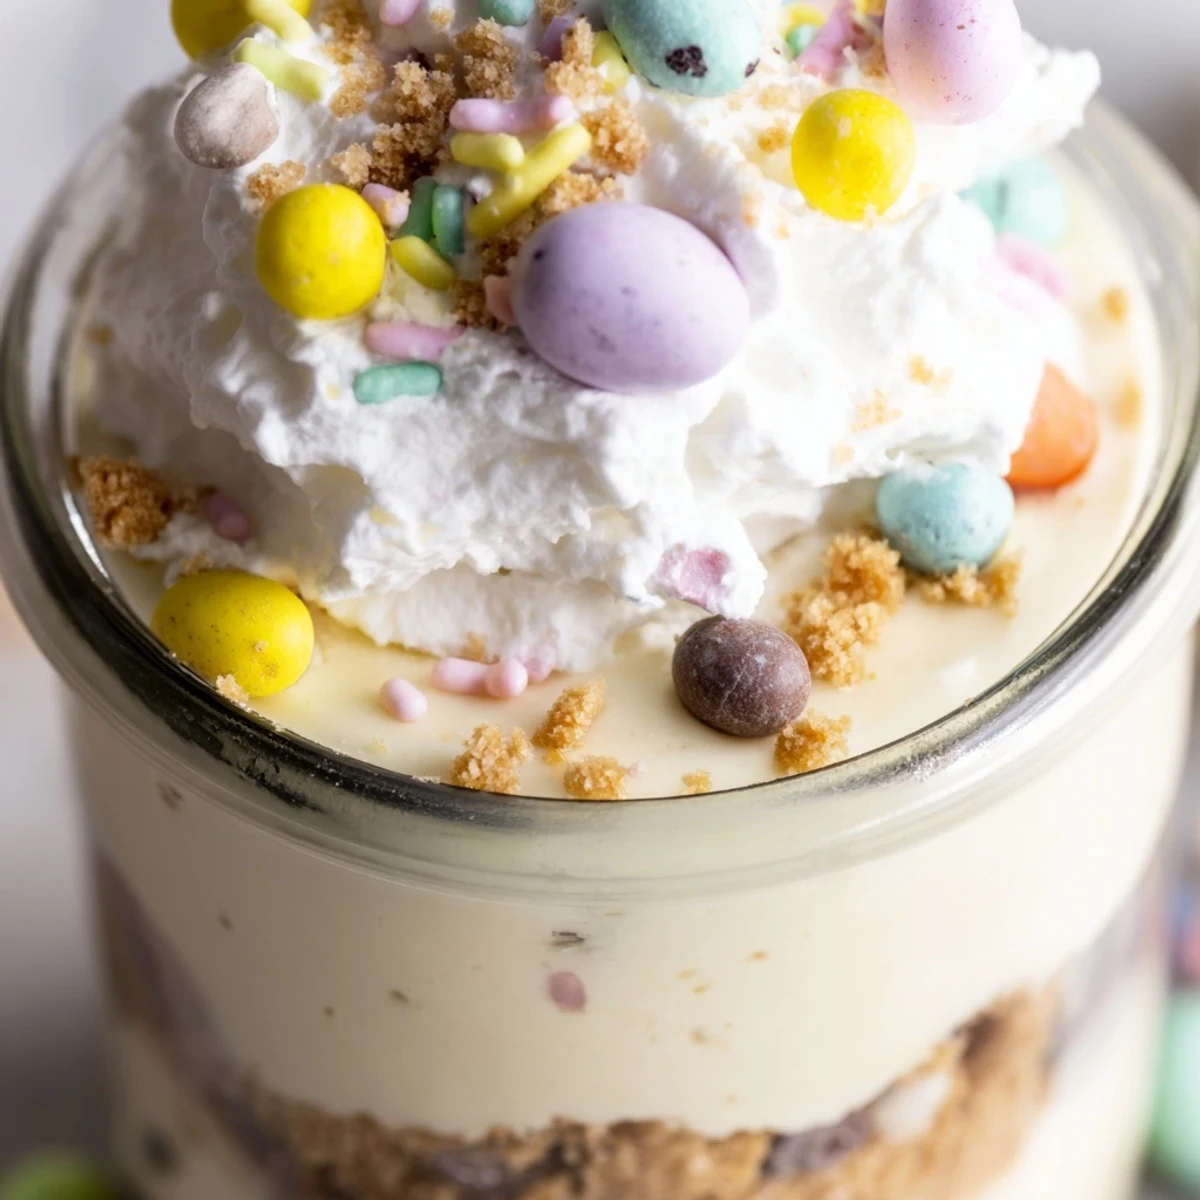
 These individual Easter cheesecake jars combine a buttery cookie crust with silky cream cheese filling and hidden chocolate surprises. The no-bake method makes them perfect for holiday entertaining, and the portable jar presentation adds a playful touch to your dessert table.
Each jar features layers of vanilla-spiked cheesecake filling nestled around mini chocolate eggs, creating exciting discovery with every spoonful. Top with whipped cream and sprinkles for a colorful finish that captures the joy of Easter celebrations.
Last Easter, my niece demanded we hide eggs in everything, even dessert, and these cheesecake jars were born from that chaotic moment. I'd layered a quick no-bake cheesecake into mason jars, tucking chocolate eggs between the creamy filling and buttery cookie crust like buried treasure. The real magic happened at dessert, watching everyone dig down to discover what they'd found, half the fun of an egg hunt without leaving the table. Now they're the one tradition I actually look forward to recreating.
I made a batch for my book club last spring and forgot to warn everyone about the hidden eggs. The sound of spoons clinking against glass, followed by delighted gasps when someone hit chocolate, turned our discussion into the best kind of chaos. Three people immediately asked for the recipe, not because the cheesecake was perfect but because the surprise made the whole room light up.
Ingredients
- 1 cup digestive biscuits or graham crackers, crushed: The foundation needs to hold up against the creamy layers, so crush these into fine crumbs that will press into a solid base
- 3 tbsp unsalted butter, melted: Warm this just until liquid, not bubbling, so it coats every crumb evenly without becoming greasy
- 8 oz cream cheese, softened: Leave this out for a full hour before you start, reaching room temperature prevents any lumps in your final filling
- 1/3 cup granulated sugar: This amount sweetens without overpowering, letting the cream cheese and vanilla shine through
- 1 tsp vanilla extract: Use the good stuff here since it's the primary flavor note in the cheesecake layer
- 1 cup heavy cream, cold: Keep this in the fridge until the moment you whip it, warmth is the enemy of fluffy peaks
- 18 mini chocolate Easter eggs: Solid eggs hold their shape best when buried in the filling, avoiding a messy situation later
- 1/2 cup whipped cream, for topping: This final dollop makes each jar feel restaurant worthy and hides any imperfections in the filling surface
- 2 tbsp rainbow sprinkles or pastel sugar pearls: These are the festive finishing touch that screams celebration before anyone even takes a bite
Instructions
- Build the cookie crust foundation:
- Combine crushed biscuits with melted butter until every crumb glistens, then spoon two tablespoons into each jar and press down firmly with the back of your spoon to create a solid base that won't crumble when dug into
- Whip up the creamy cheesecake filling:
- Beat cream cheese, sugar, and vanilla until completely smooth and silky, then in a separate bowl whip cold heavy cream to stiff peaks before gently folding it into the cheese mixture until light and fluffy
- Hide the treasure and assemble:
- Spoon cheesecake filling over each crust, filling jars halfway, then nestle two or three mini eggs into the layer before covering completely with remaining filling and chilling for at least two hours to set
- Add the festive finishing touches:
- Top each chilled jar with a swirl of whipped cream, a few extra Easter eggs, and a generous sprinkle of rainbow confetti before serving
 Pin it
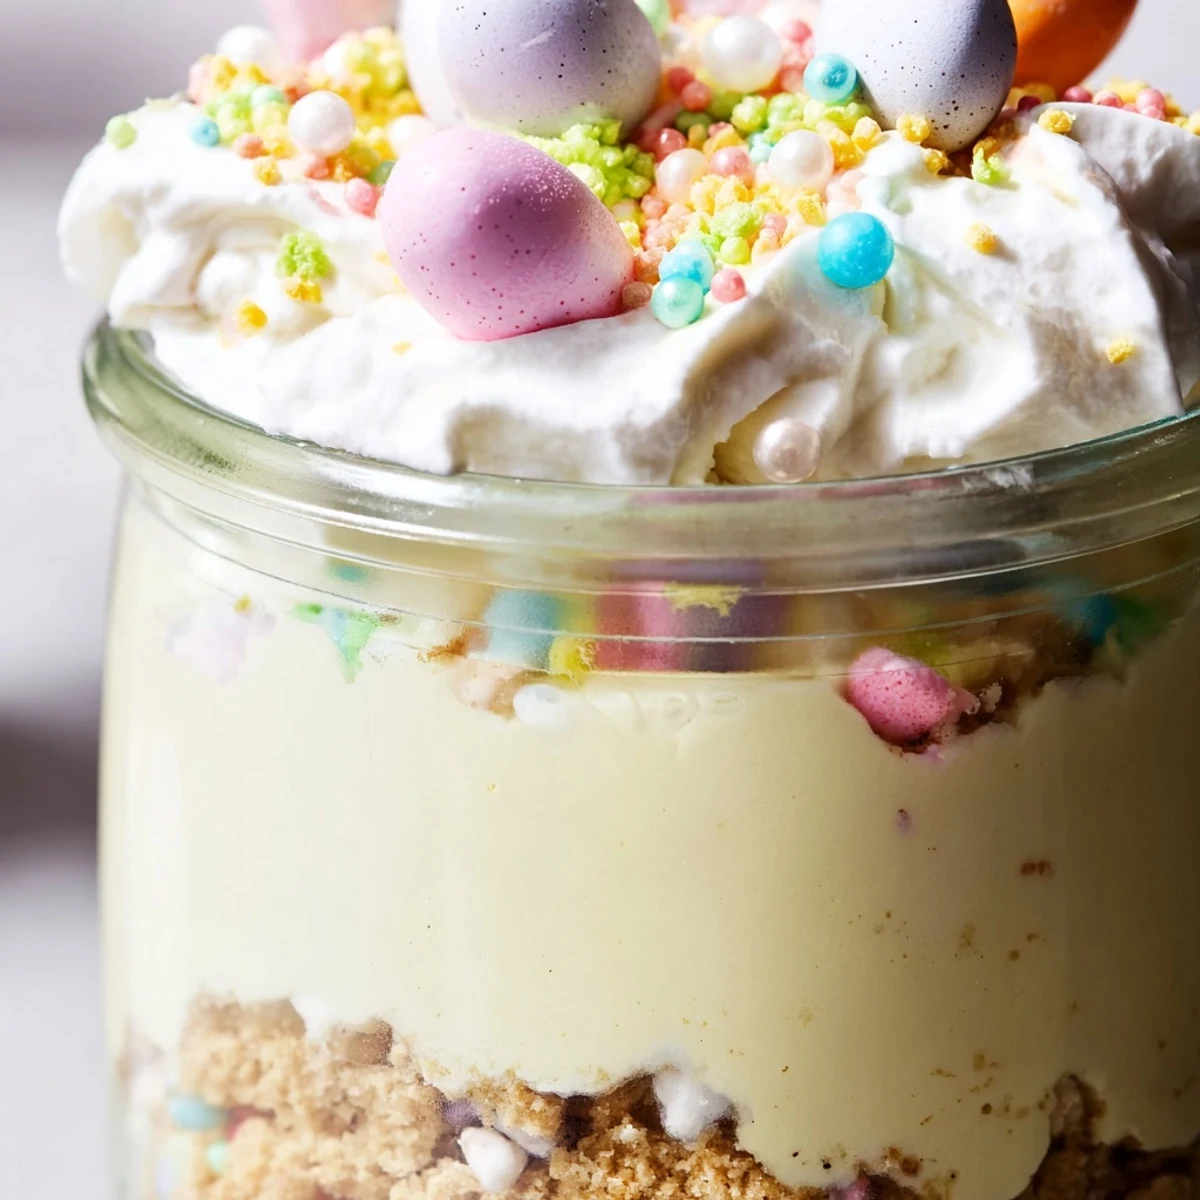
 My friend Sarah made these for her daughter's birthday and personalized each jar with different candy, turning dessert into a guessing game. The kids spent more time comparing what they'd discovered than eating, which is exactly the kind of food memory that sticks.
Making These Ahead
I've assembled these the night before a party and they held up beautifully, the crust staying firm and the filling setting perfectly overnight. Just wait to add the final whipped cream topping until right before serving or it will weep and lose its fluffy texture.
Customizing the Hidden Treasure
Beyond chocolate eggs, I've tucked in crushed cookies, fresh berries, or even small caramel candies that soften slightly in the creamy filling. The key is choosing something that maintains some texture when buried, avoiding anything that might completely dissolve or become unpleasantly mushy.
Perfect Presentation
Clear glass jars are essential here since the reveal is half the fun. Wipe down the inside of each jar after filling to remove any smears or filling residue before chilling.
- Use a damp paper towel to clean the inside walls if you get filling on them while layering
- Chill jars uncovered for the first hour, then loosely cover to prevent condensation from forming on the surface
- Let jars sit at room temperature for ten minutes before serving to soften the crust slightly for easier digging
 Pin it
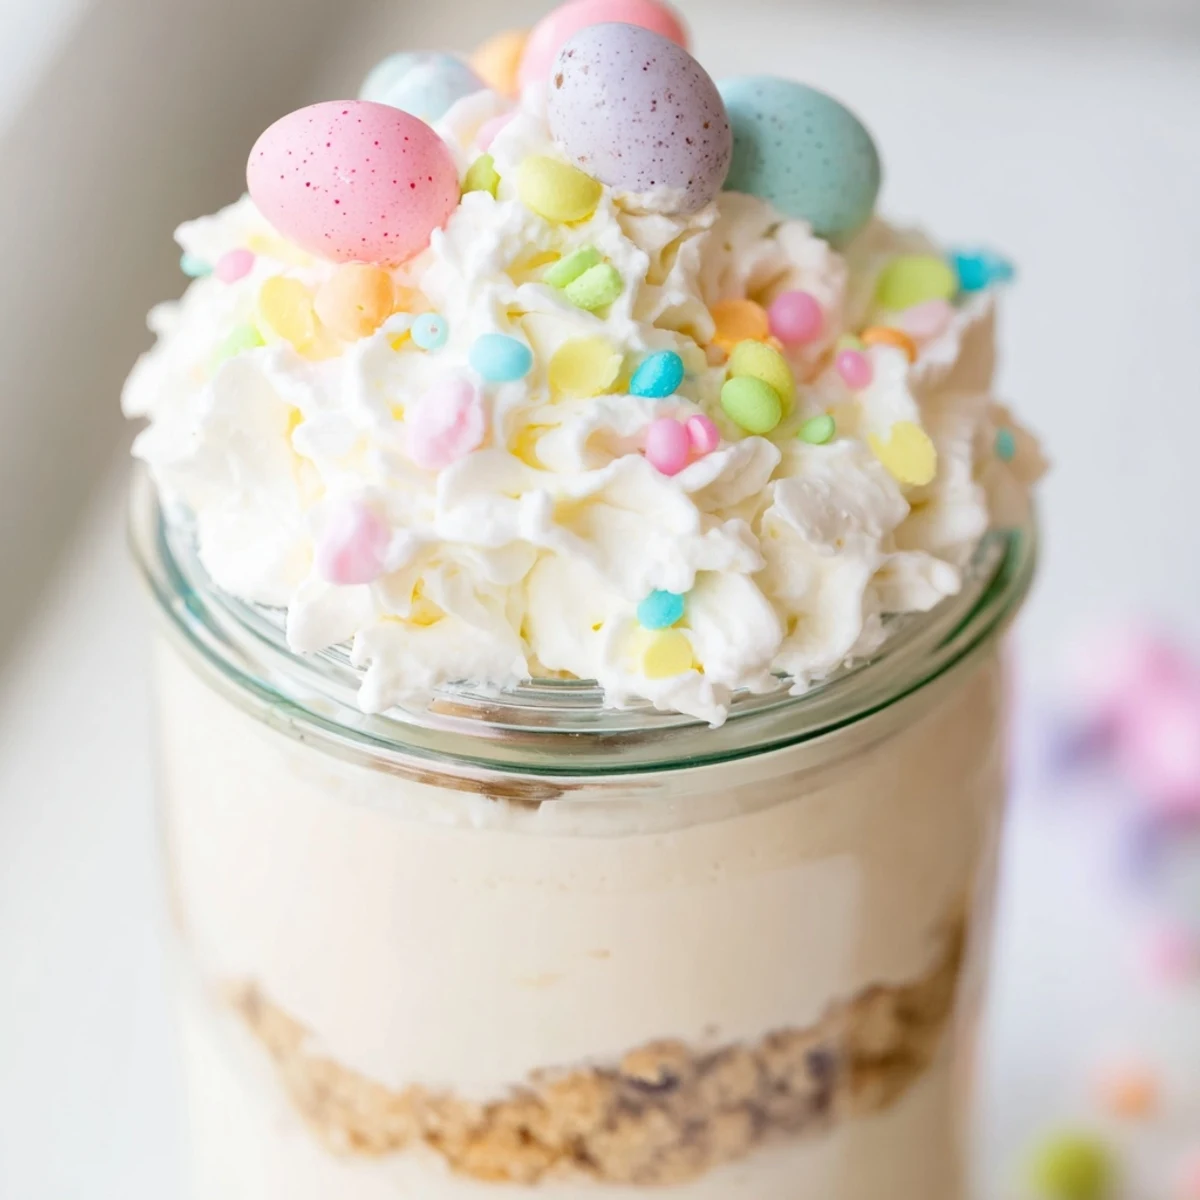
 There's something deeply satisfying about dessert that comes with its own built-in element of surprise, turning a simple sweet into an experience.
Recipe FAQs
- → Can I make these cheesecake jars ahead of time?
-
Yes, prepare these jars up to 24 hours in advance. Store them covered in the refrigerator until ready to serve. Add whipped cream and sprinkles just before serving for the freshest presentation.
- → What size jars work best for this dessert?
-
Use 6-8 ounce glass jars or small mason jars. This size allows for perfect layering of crust, cheesecake filling, and hidden eggs while providing ample room for toppings.
- → Can I substitute the mini chocolate eggs?
-
Absolutely. Try replacing the eggs with other Easter candy like peanut butter cups, malted milk eggs, or even fresh berries for a fruity variation that still maintains the surprise element.
- → Do these jars need to be frozen?
-
No freezing required. Simply refrigerate for at least 2 hours to set the cheesecake layers. The cold temperature helps the filling firm up while keeping the texture perfectly creamy.
- → Can I make these dairy-free?
-
Yes, use dairy-free cream cheese, coconut cream instead of heavy cream, and vegan butter. Opt for dairy-free chocolate cookies and verify your chocolate eggs are also dairy-free.
