 Pin it
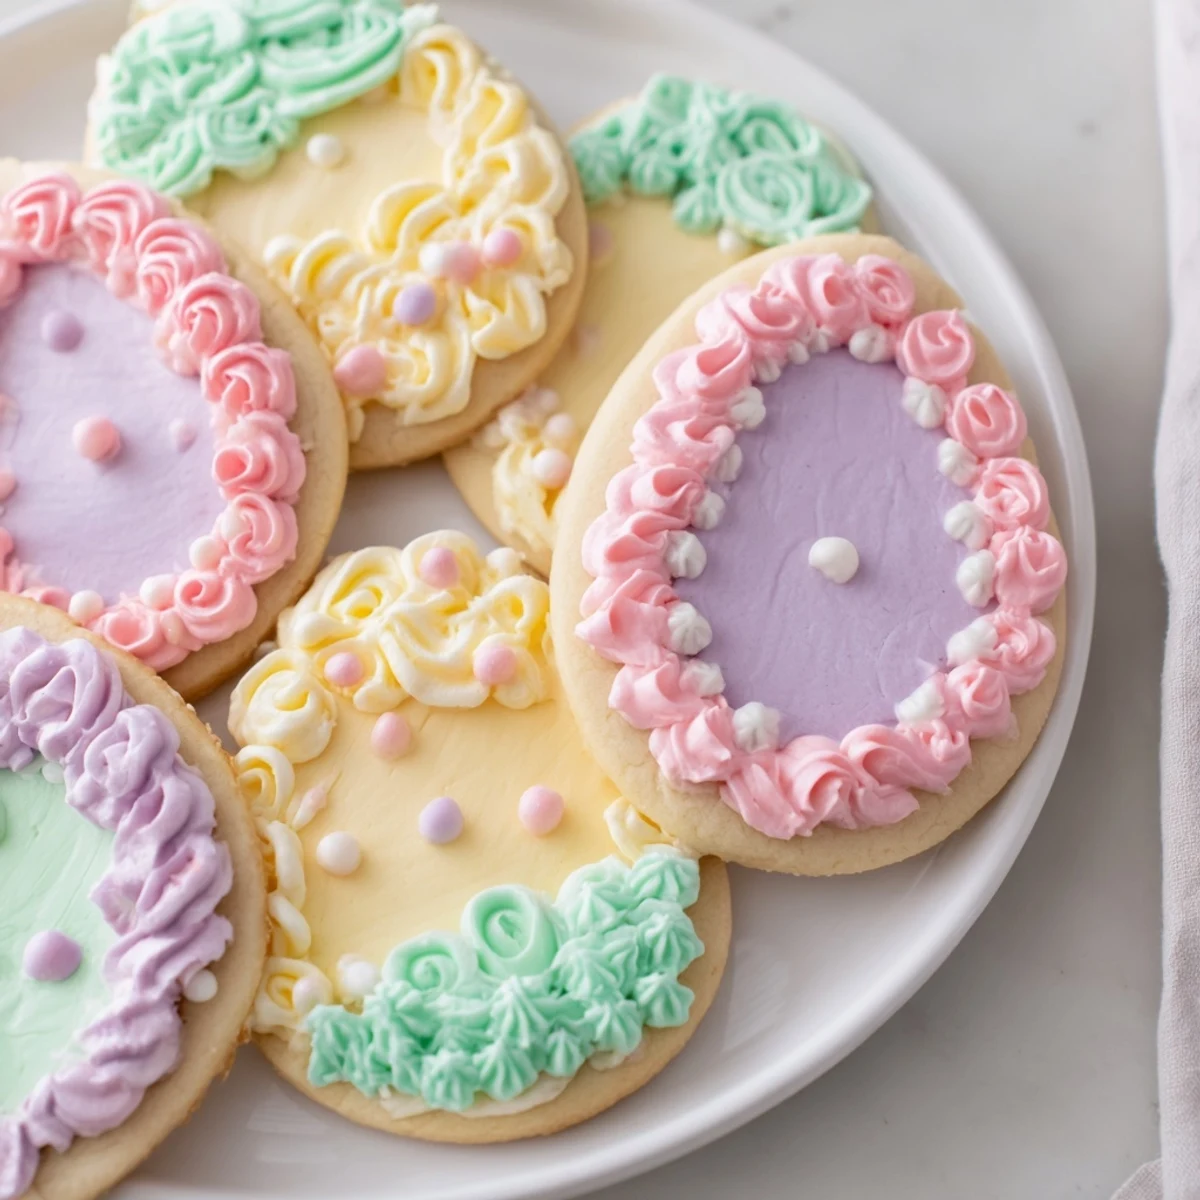
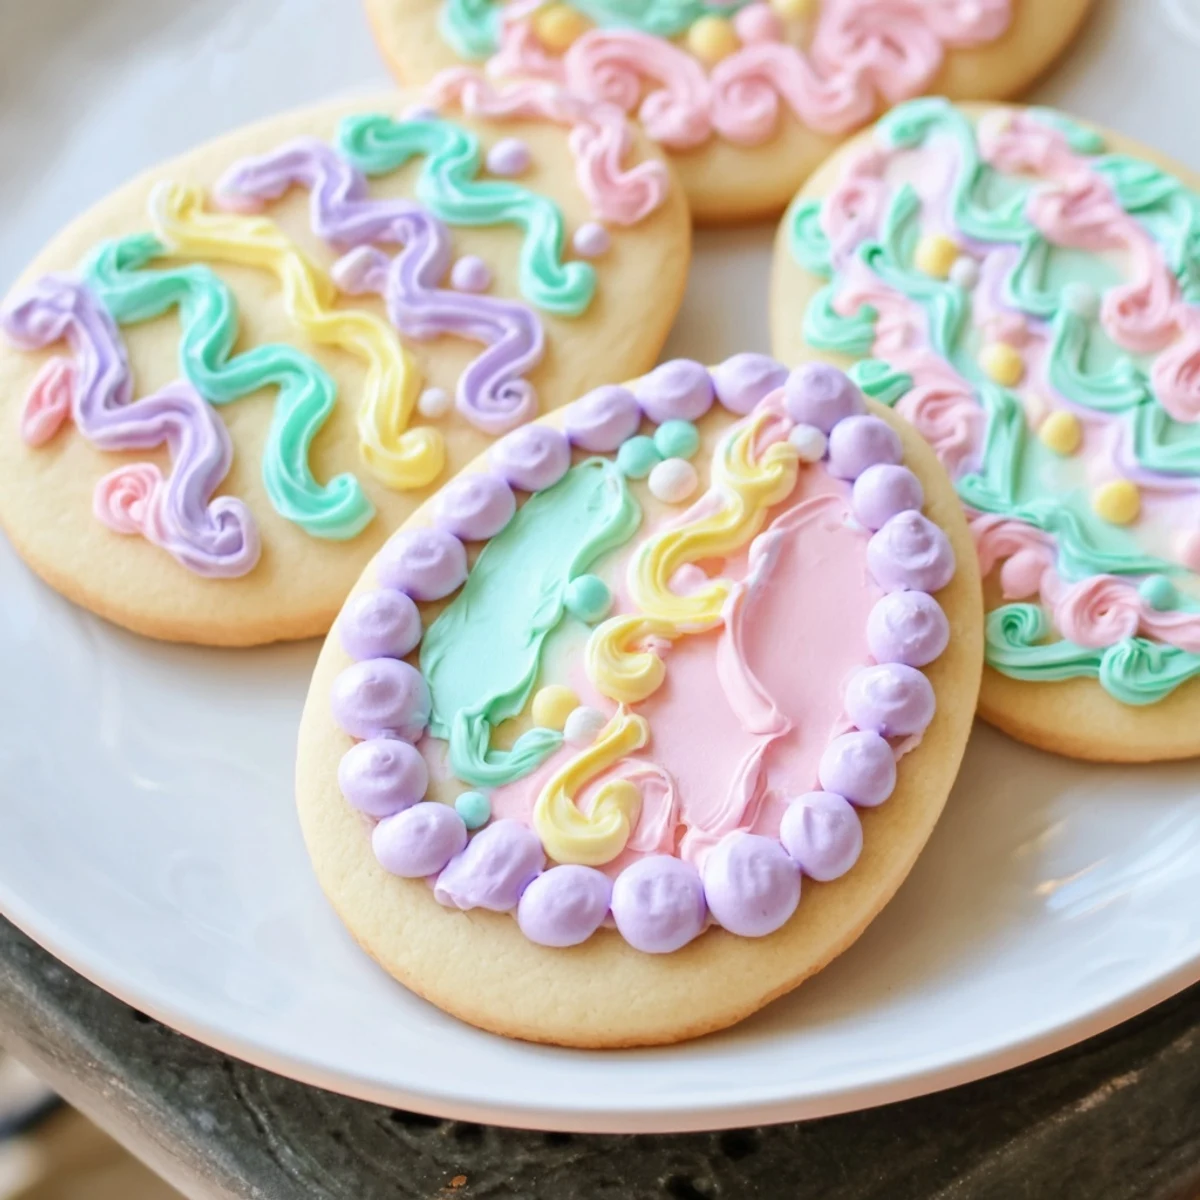
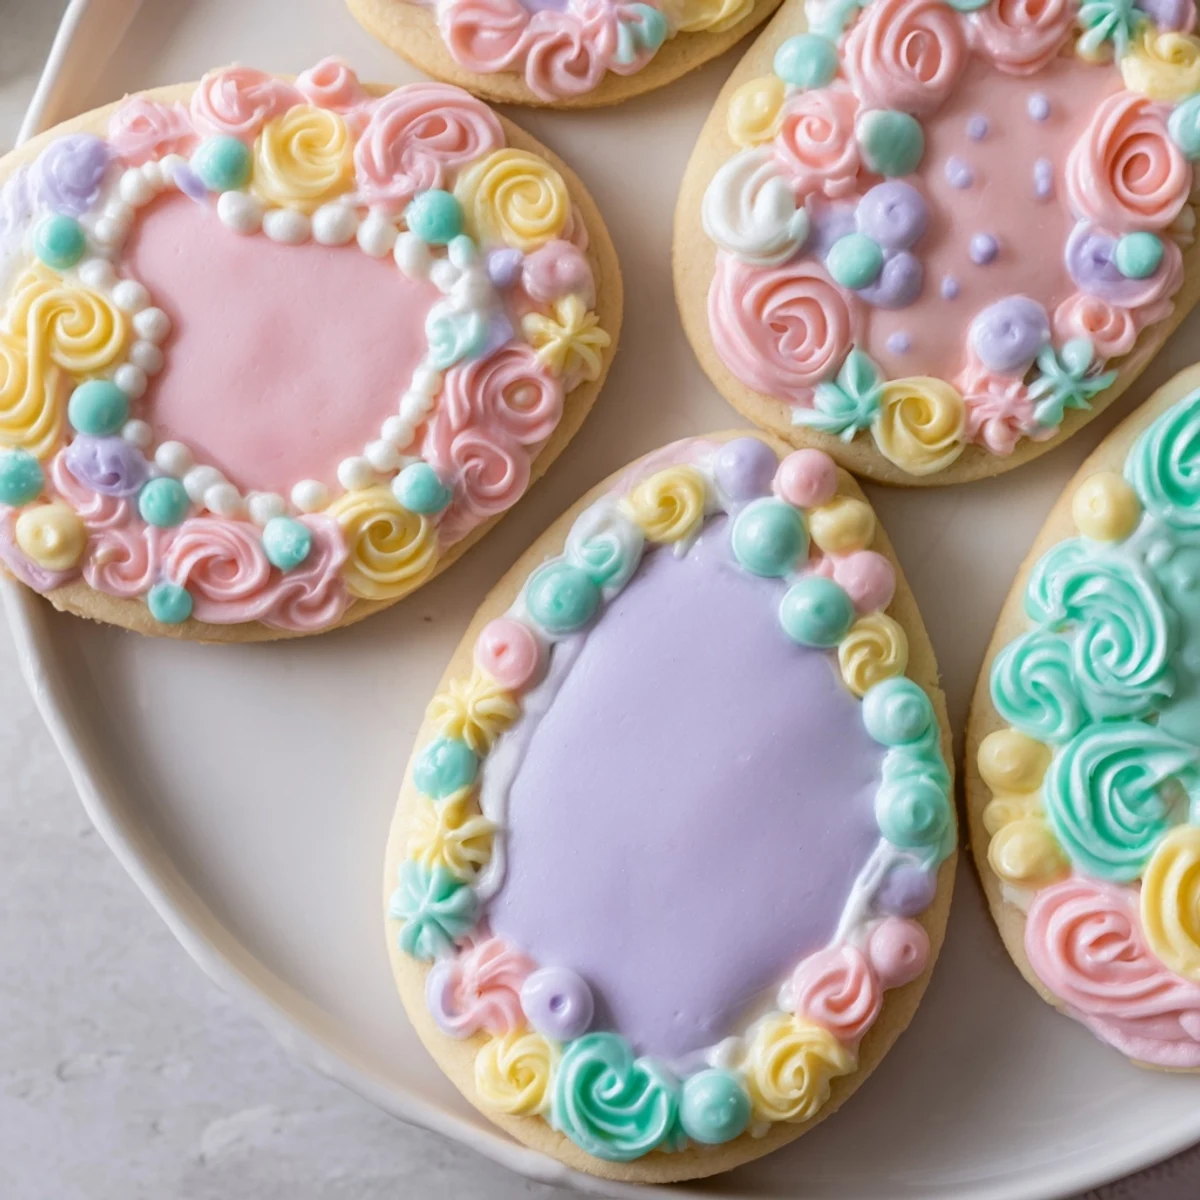
 These sugar cookies feature a tender, buttery dough rolled into festive egg shapes, baked to golden perfection. Once cooled, they’re adorned with smooth royal icing tinted in pastel hues, perfect for springtime gatherings or fun family baking sessions. The dough is straightforward with a hint of vanilla, requiring a chill before rolling to enhance texture. Decorating offers a delightful canvas for creativity, with options to add sprinkles or edible glitter. Ideal for those seeking an easy, charming treat with classic flavors and eye-catching appeal.
My kitchen transforms into pastel chaos every spring, usually starting with an accidental fingerprint in blue icing on my forehead. These Easter egg sugar cookies began as a rainy Sunday activity with my niece, who insisted we needed exactly twenty four eggs in pastel rainbow order. Four hours later, we had flour in our hair, sticky fingers, and the most beautifully imperfect egg shaped cookies Id ever seen. Now they are the first request when March arrives.
Last year I made three batches for a neighborhood egg hunt, and the best part was watching adults sneak cookies while the children were busy searching. My neighbor Tom claimed he was just quality testing the yellow ones, then somehow ended up with frosting all over his shirt. Those cookies disappeared faster than the actual hidden eggs, which I will count as a personal victory.
Ingredients
- All purpose flour: Gives the cookies structure without making them tough, measure by spooning into your cup and leveling off for accuracy
- Baking powder: Just a half teaspoon creates the slightest lift for tender edges
- Salt: Balances the sweetness and makes all flavors pop
- Unsalted butter: Softened to room temperature so it creams perfectly with sugar, creating those signature buttery pockets
- Granulated sugar: Sweetens and helps create crisp edges while keeping centers soft
- Large egg: Binds everything together and adds richness
- Pure vanilla extract: The backbone flavor that makes these taste like home
- Powdered sugar: Sifted first to prevent lumps in your silky smooth royal icing
- Milk: Start with two tablespoons and add drops until your icing flows like honey
- Light corn syrup: The secret ingredient that makes icing dry with a professional glossy sheen
- Gel food coloring: Use pastel drops instead of liquid to keep your icing consistency perfect
Instructions
- Whisk the dry trio:
- Combine flour, baking powder and salt in a medium bowl, then set it aside while you focus on the butter.
- Cream butter and sugar:
- Beat them together for two to three minutes until the mixture looks pale and fluffy, like vanilla scented clouds.
- Add egg and vanilla:
- Mix until just combined, scraping down the bowl so every bit of butter gets incorporated.
- Bring dough together:
- Pour in the dry ingredients gradually, mixing only until a dough forms and you no longer see flour streaks.
- Chill the dough:
- Divide into two discs, wrap tightly in plastic, and refrigerate for at least thirty minutes so cookies keep their egg shape.
- Preheat and prepare:
- Heat your oven to 350°F and line baking sheets with parchment paper for easy cleanup.
- Roll and cut:
- On a floured surface, roll dough to quarter inch thickness and cut out egg shapes, gathering scraps to roll again.
- Bake to perfection:
- Arrange cookies two inches apart and bake for eight to ten minutes until edges barely hint at gold.
- Cool completely:
- Let them rest on baking sheets for five minutes before moving to wire racks, because warm cookies melt icing.
- Whisk the icing:
- Combine powdered sugar, milk, corn syrup and vanilla until smooth, adjusting consistency with tiny milk drops.
- Tint and decorate:
- Divide icing into bowls and add gel coloring, then pipe onto cooled cookies and let dry until firm to the touch.
 Pin it
 The first time I made these, I forgot the corn syrup in the icing and ended up with dull, matte cookies that looked sad. My daughter still decorated them with wild abandon and declared them beautiful, but I added that corn syrup to my recipe immediately. Now the shine on these cookies makes me smile every single time.
Getting The Perfect Pastels
Gel food coloring can be intimidating because a tiny dot goes a long way. Start with less than you think you need, dip a toothpick in the gel and swirl it into your icing. You can always add more, but you cannot take it back once your pastel pink turns shocking fuchsia.
Cookie Cutting Wisdom
Space your cutouts close together on the dough to minimize how many times you need to re roll scraps. Each time you re roll, the cookies get a little tougher from overworking the flour, so gathering thoughtfully means tender results.
Decorating Like A Pro
Invest in squeeze bottles instead of piping bags for royal icing work. The control is infinitely better, and you can cap them between colors to prevent crusting. Your five year old self will thank you for not having to wrestle with floppy pastry bags.
- Cut a tiny hole in your bottle tip for outlining and slightly larger for flooding
- Pop any air bubbles in your icing with a toothpick before they dry into craters
- Let cookies dry overnight before stacking them, otherwise you will have a stuck together mess
 Pin it
 May your kitchen be dusted with flour, your fingers be sticky with icing, and your Easter basket overflow with cookies. Happy baking, my friend.
Recipe FAQs
- → How do I achieve smooth, drip-free icing?
-
Ensure the icing is thick but spreadable by adjusting milk gradually. Too thin icing can drip; aim for a consistency that holds shape when piped.
- → Can I prepare the dough ahead of time?
-
Yes, the dough can be made and chilled overnight. This resting enhances flavor and makes rolling easier.
- → What’s the best way to store these cookies?
-
Store in an airtight container at room temperature for up to five days to maintain freshness and icing texture.
- → How do I prevent cookies from spreading too much during baking?
-
Chilling the dough before cutting shapes helps cookies keep their form and bake evenly.
- → Are there alternatives to gel food coloring?
-
Yes, powdered or natural food colorings work well. Adjust quantity to achieve vibrant pastel tones without altering icing texture.
