 Pin it
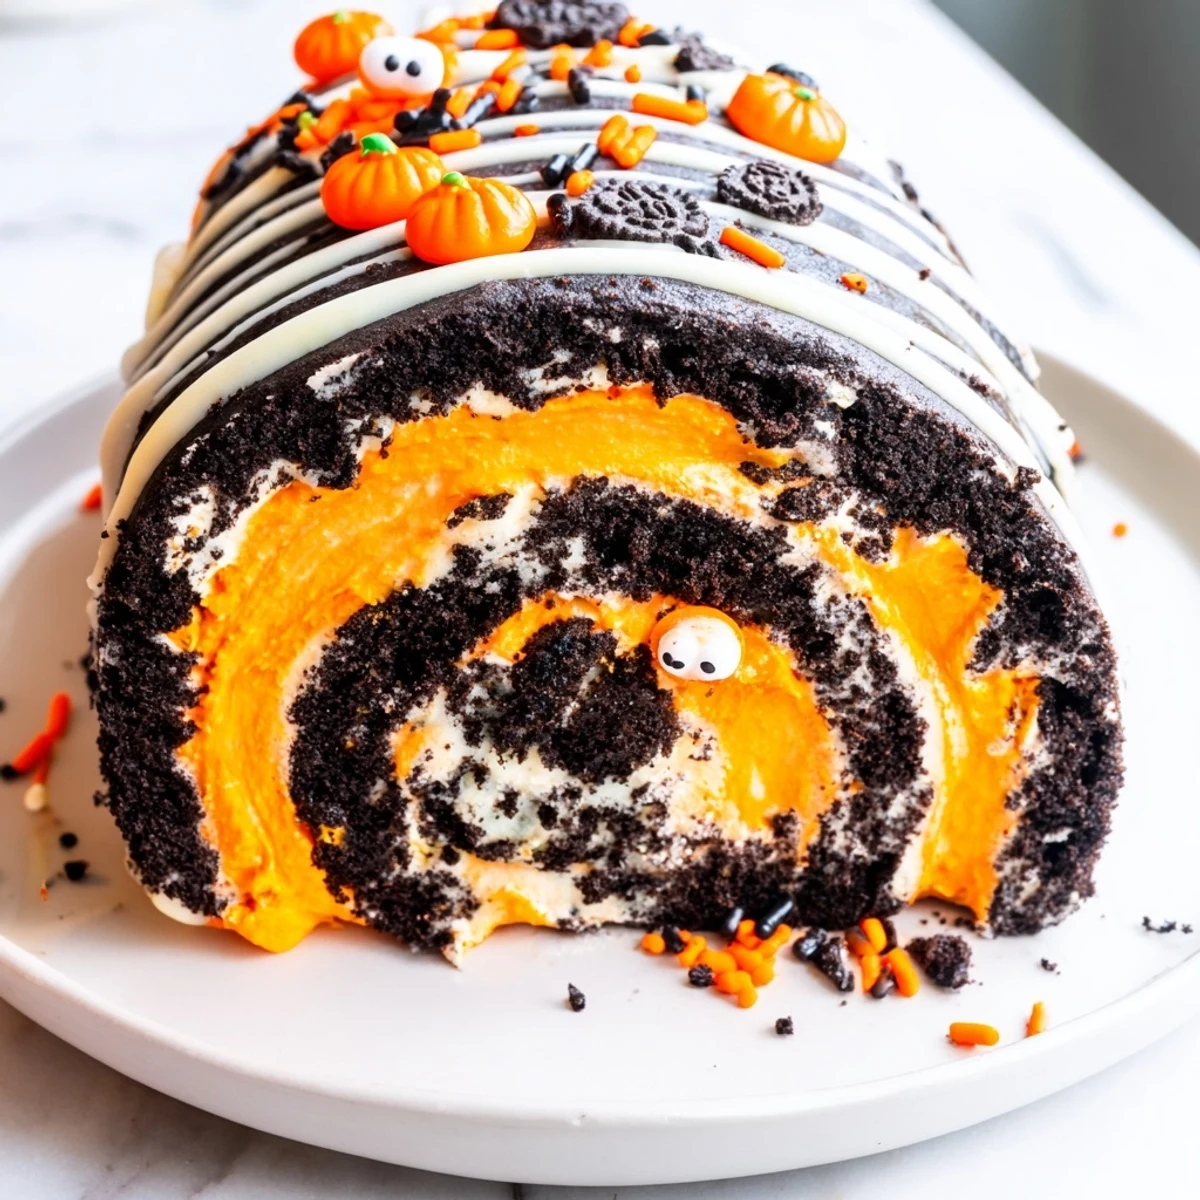
 This spooky Halloween Oreo roll combines crushed sandwich cookies with creamy whipped filling in vibrant orange or purple. The no-bake method makes it incredibly simple—just crush, mix, roll, and chill. Ready in 25 minutes plus refrigeration time, this festive dessert is perfect for Halloween gatherings and party tables.
Last October, my daughter decided we needed a dessert that would make her classmates actually gasp. We spent a Friday evening covered in orange food coloring, accidentally turned half the kitchen counter into a crime scene of crushed cookies, and created something so ridiculous it became an instant tradition. The way those Halloween Oreos catch the light when you crush them is pure magic.
I brought this to a Halloween potluck last year and watched three grown adults literally fight over the last slice. Someone actually asked if I'd secretly gone to culinary school, which was hilarious considering I'd made it in my pajamas while watching Hocus Pocus. The contrast between that creamy orange filling and the dark chocolate cookies is something else entirely.
Ingredients
- 36 Halloween Oreos: The orange cream centers are already perfect for this, but regular Oreos work if you add food coloring to the filling
- 1 cup powdered sugar: This sweetens the cookie base and helps everything bind together into that perfect dough texture
- 6 tbsp unsalted butter: Melt this completely so it distributes evenly through the crushed cookies
- 4 oz cream cheese: Let this sit out for an hour so it blends smoothly without creating weird lumps
- 1 cup heavy whipping cream: Heavy cream is nonnegotiable here anything lighter will collapse when you try to fold it
- 1/4 cup powdered sugar: This sweetens the whipped cream just enough to balance the rich cookies
- 1 tsp vanilla extract: Pure vanilla makes a noticeable difference in the final flavor
- Orange or purple food coloring: Gel coloring works best since it wont thin out the whipped cream
- Halloween sprinkles and candy eyes: Go wild here this is where you make it yours
Instructions
- Prep your workspace:
- Tear off a large sheet of parchment paper and tape it to your counter to keep it from sliding around while you work
- Crush those cookies:
- Pulse the Oreos in a food processor until they resemble damp sand or pour them into a sealed bag and let your kids attack them with a rolling pin
- Make the cookie base:
- Mix the crushed cookies with powdered sugar then pour in the melted butter and softened cream cheese until everything comes together into a thick sticky dough
- Roll it out:
- Place the dough between two sheets of parchment and roll it into a rectangle about half an inch thick making sure the corners are relatively even
- Whip the cream:
- Beat the heavy cream with powdered sugar and vanilla until you have stiff peaks that hold their shape then gently fold in food coloring until its evenly tinted
- Spread and roll:
- Spread the colored whipped cream over the cookie base leaving a one inch border on one long edge then use the parchment to help roll it into a tight log starting from the edge without the border
- Chill completely:
- Refrigerate for at least one hour until the log is firm enough to slice cleanly without squishing
- Decorate like crazy:
- Drizzle with melted chocolate pile on sprinkles and arrange candy eyes strategically before slicing into one inch pieces
 Pin it
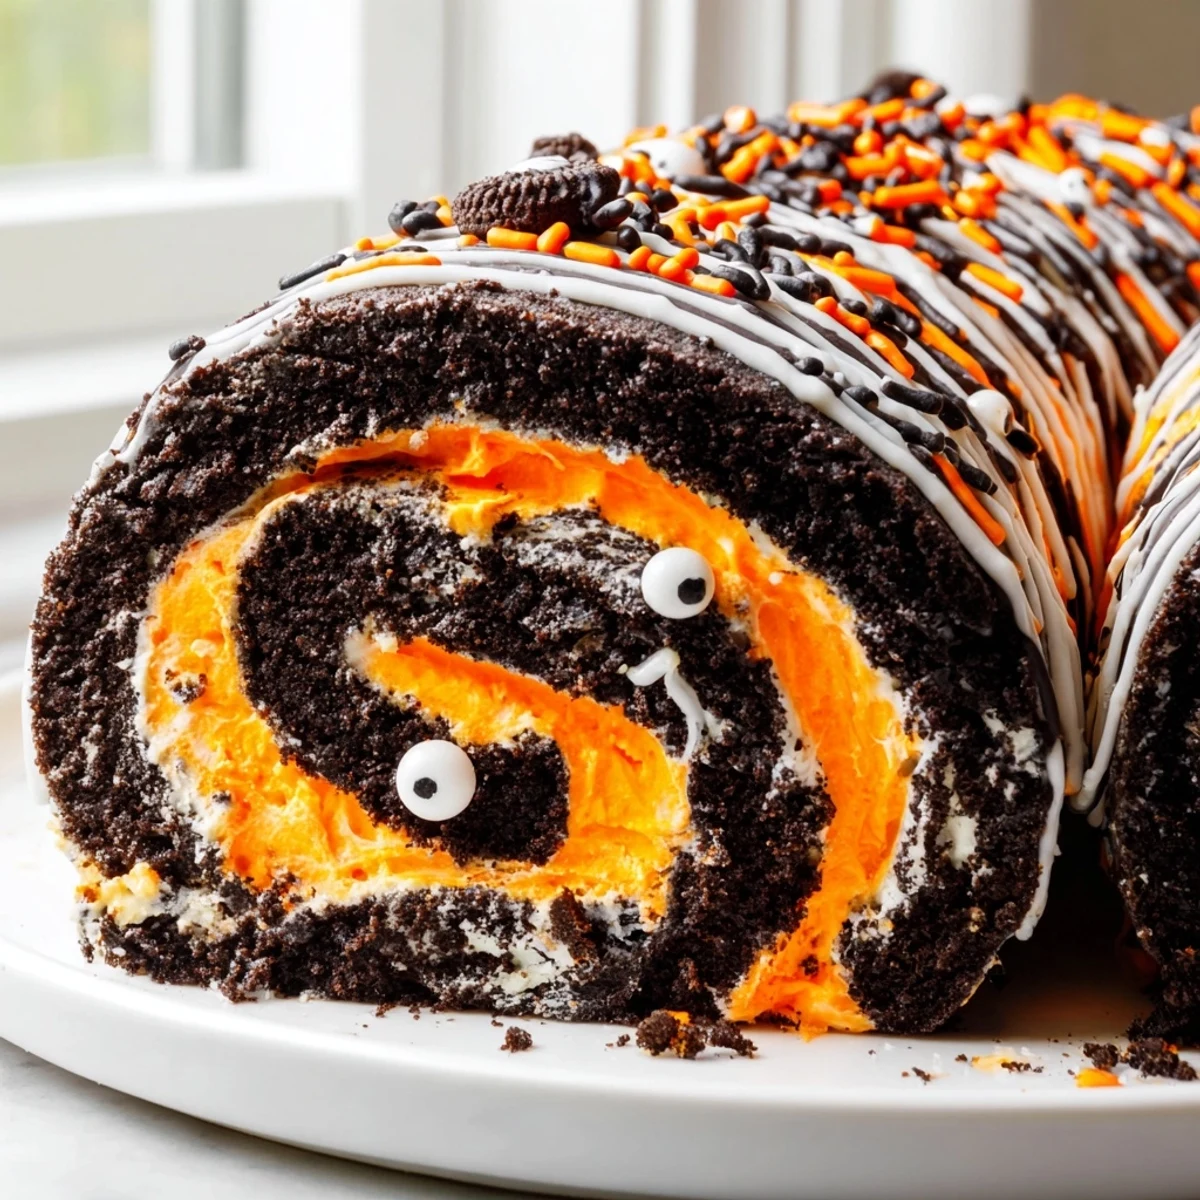
 Last year my niece helped me decorate this and insisted on making a face on every single slice with the candy eyes. It took three times as long as it should have but seeing the Instagram stories from everyone at the party made those extra minutes completely worth it.
Making It Ahead
You can prepare the entire roll up to two days in advance just wrap it tightly in plastic once its chilled and decorate right before serving. The flavors actually develop and get better overnight which I discovered accidentally when I made it the day before a party.
Getting The Perfect Roll
If your log cracks while rolling do not panic just press it back together and refrigerate for 15 minutes before trying again. I learned this the hard way after my first attempt looked like it had been through a battle but it still tasted incredible.
Decoration Ideas
Some years I go all out with spiderwebs drawn in chocolate other years I just throw sprinkles at it and call it a day. Both versions disappear equally fast at parties.
- Melt white chocolate and pipe a spiderweb pattern on top for a sophisticated spooky look
- Press candy corn into the sides before chilling for extra crunch and color
- Serve with a dollop of extra whipped cream on the side if you want to go completely overboard
 Pin it
 This is the dessert that proves you do not need to be a professional baker to create something that stops conversation. Happy rolling.
Recipe FAQs
- → How long does the Oreo roll need to chill?
-
Refrigerate for at least 1 hour until firm enough to slice cleanly. You can chill overnight for easier cutting.
- → Can I make this ahead of time?
-
Yes! Prepare up to 24 hours in advance. Store covered in the refrigerator and add decorations just before serving.
- → What if I don't have Halloween Oreos?
-
Regular Oreos work perfectly. Add orange food coloring to the filling for that festive Halloween touch.
- → How do I get clean slices?
-
Use a sharp knife and wipe it clean between slices. For even cleaner cuts, briefly run the knife under hot water and dry.
- → Can I freeze this dessert?
-
Yes! Wrap tightly in plastic and freeze for up to 1 month. Thaw in the refrigerator for 2-3 hours before serving.
- → What other decorations work well?
-
Candy corn, crushed Halloween cookies, edible glitter, or chocolate spiderwebs make excellent festive toppings.
