 Pin it
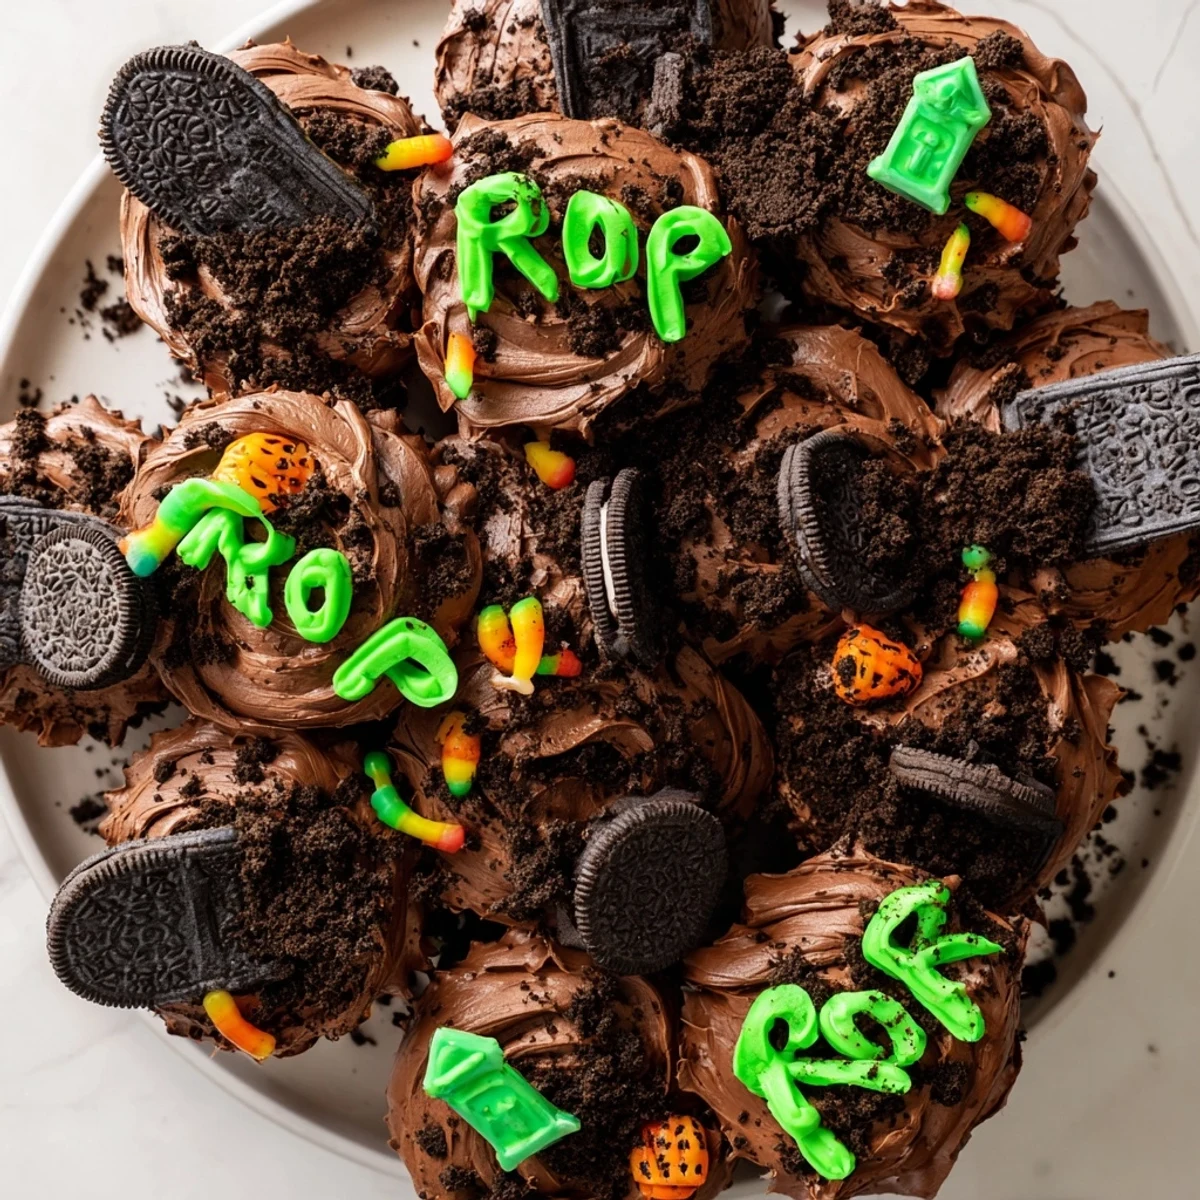
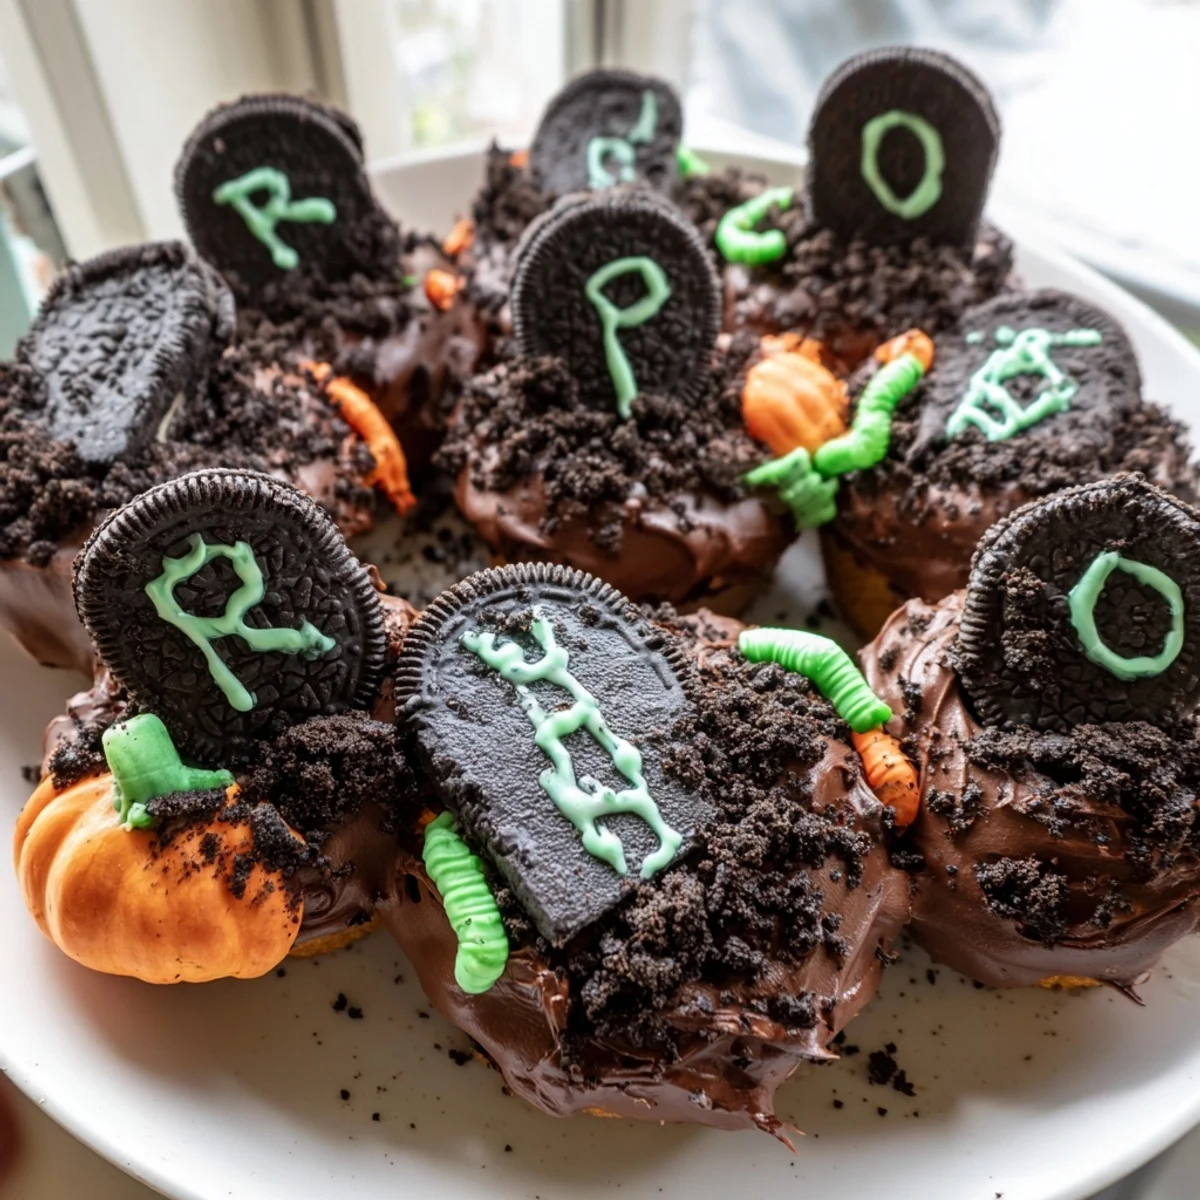
 These Halloween-themed cupcakes feature moist chocolate bases topped with creamy chocolate frosting, crushed sandwich cookies for realistic dirt, and cookie tombstones decorated with spooky messages. The pull-apart presentation creates an impressive graveyard display perfect for autumn celebrations. Simple to prepare and fun to decorate, these treats are sure to be a hit at any Halloween gathering.
My daughter's third grade Halloween party changed everything about how I approach holiday desserts. Another parent brought these graveyard cupcakes and suddenly every kid was crowded around the table, eyes wide, pointing at the little tombstones and squiggly gummy worms. The cupcakes disappeared before the apple slices even got touched. I knew right then I needed that recipe in my back pocket.
Last year I made these for our neighborhood potluck and watched adults hover around the platter just as eagerly as the children. My neighbor confessed she ate three tombstone cookies before dinner even started. Something about the playful, slightly macabre presentation brings out everyone's inner child.
Ingredients
- 1 ½ cups all-purpose flour: The foundation for tender, moist cupcakes that hold up under all that frosting
- 1 cup granulated sugar: Creates the perfect sweetness level without making the cupcakes cloying
- ½ cup unsalted butter, softened: Room temperature butter incorporates beautifully for that light, fluffy texture we want
- ½ cup whole milk: Adds moisture and richness, though any milk works in a pinch
- 2 large eggs: Bind everything together and provide structure—bring them to room temperature for best results
- 2 tsp baking powder: Gives these cupcakes their lift, so measure carefully
- 1 tsp vanilla extract: Pure vanilla makes all the difference in the final flavor
- ¼ tsp salt: Balances the sweetness and enhances the chocolate frosting later
- 1 cup unsalted butter, softened: For the frosting—high quality butter makes frosting silky smooth
- 2 ½ cups powdered sugar: Sweetens and thickens the frosting to that perfect spreadable consistency
- ½ cup unsweetened cocoa powder: Dutch process cocoa gives the deepest, darkest chocolate flavor
- 2-3 tbsp milk: Adjust this to get your frosting exactly how you like it
- 1 tsp vanilla extract: Rounds out the chocolate flavor beautifully
- Pinch of salt: A tiny bit wakes up all the chocolate flavors
- 6–8 chocolate sandwich cookies: Crushed for that authentic graveyard dirt effect
- 6–8 rectangular cookies or biscuits: Classic rectangular cookies work best as tombstone bases
- Black, white, and green gel icing pens: Fine tip pens give you control over those spooky messages
- Gummy worms, candy pumpkins, or Halloween themed candies: Let your creativity run wild here
Instructions
- Get your oven ready:
- Preheat to 350°F and line your muffin tin with liners—this small step makes cleanup so much easier later
- Mix the cupcake batter:
- Cream that butter and sugar until it looks pale and fluffy, then beat in eggs one at a time. Whisk your dry ingredients separately, then gradually incorporate them into the wet mixture, alternating with milk
- Bake to perfection:
- Fill each liner two-thirds full and bake for 18–20 minutes until a toothpick comes out clean. Let them cool completely on a wire rack—warm cupcakes will melt your frosting right off
- Whip up the chocolate frosting:
- Beat butter until creamy, then add powdered sugar and cocoa on low speed. Pour in vanilla and milk, then beat on high until it is silky smooth and spreadable
- Create the graveyard scene:
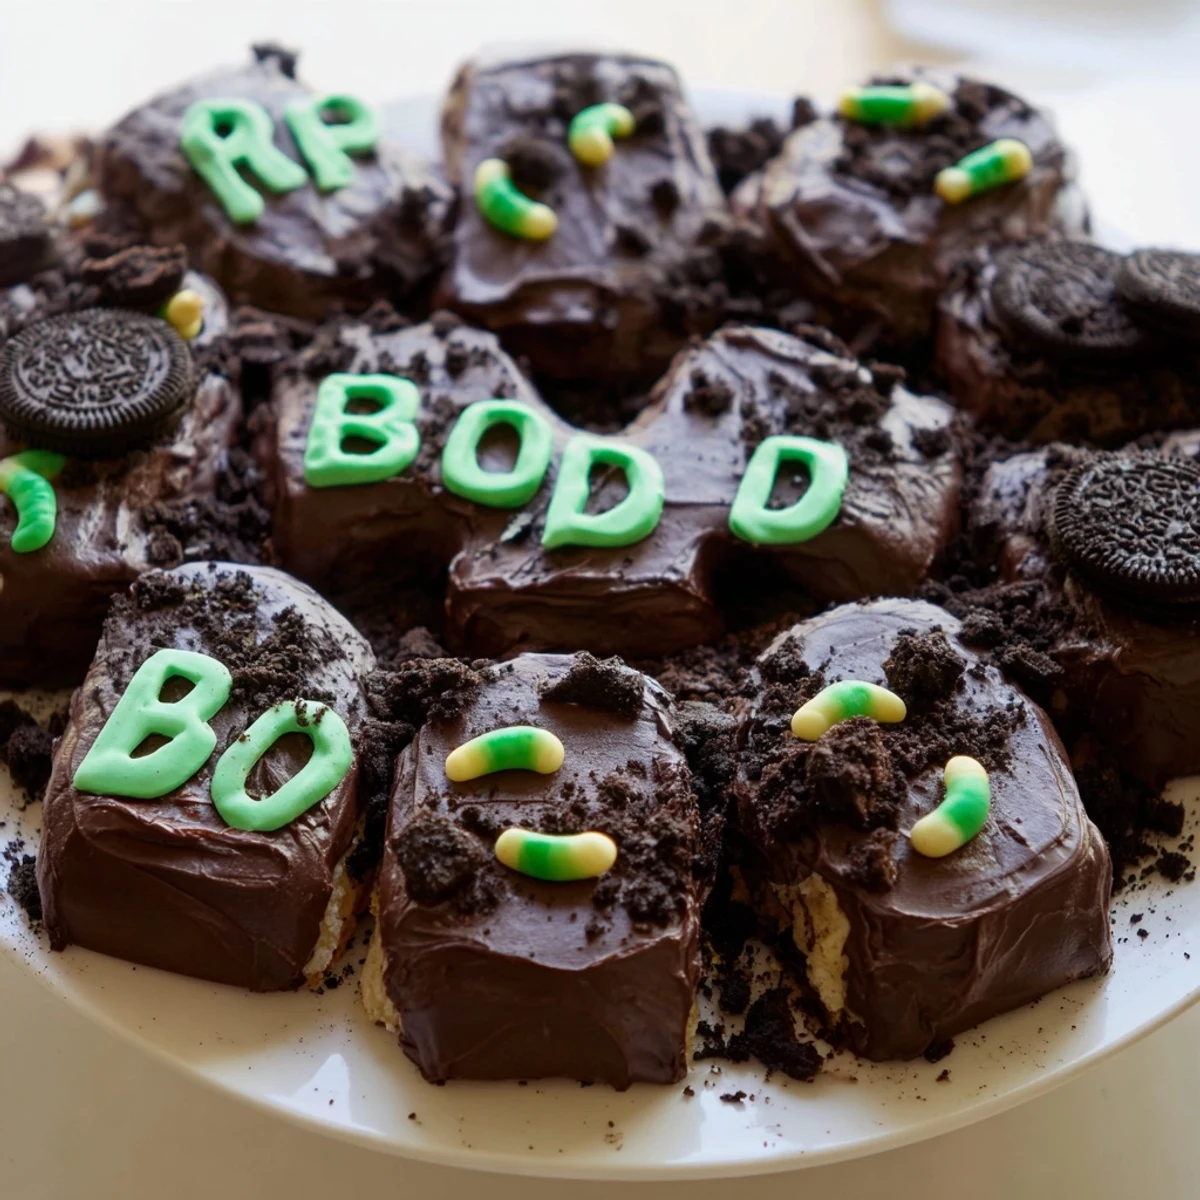
- Arrange cooled cupcakes in a tight rectangle on your serving platter. Spread frosting generously over the whole surface, swirling to create an uneven earthy texture
- Add the spooky details:
- Crush sandwich cookies directly over the frosting for fresh dirt, then write RIP and eerie messages on your tombstone cookies with gel icing. Press them into the cupcakes and scatter gummy worms throughout
- Let everything set:
- Pop the whole tray in the fridge for about 15 minutes so the tombstones stay upright and the decorations firm up slightly before serving
 Pin it
 These became an instant tradition in our house. My kids now argue over who gets to design the scariest tombstone each year, and I love seeing their creativity come out in edible form. The best part is watching guests discover the little details hidden in the dirt.
Making Them Ahead
You can bake cupcakes up to two days in advance and store them in an airtight container. The frosting keeps well in the refrigerator too, just bring it to room temperature and give it a quick whip before spreading.
Kid Friendly Decorating
Set up a decorating station with bowls of crushed cookies and various candies. Let children write their own tombstone messages and arrange the gummy worms—imperfect decorations just add to the spooky charm.
Serving Suggestions
These work beautifully for classroom parties, neighborhood gatherings, or as a fun weekend baking project. The pull apart style means guests can grab whatever sized portion they want.
- Use a large rectangular platter to give yourself enough room for the graveyard arrangement
- Keep extra crushed cookies on hand to refresh the dirt if it gets absorbed into the frosting
- Have damp paper towels ready for sticky fingers after decorating
 Pin it
 Watch these become the most talked about dessert at your next Halloween gathering. Happy haunting and happy baking.
Recipe FAQs
- → How far ahead can I make these cupcakes?
-
Bake the cupcakes up to 2 days in advance and store in an airtight container. Frost and decorate the day of serving for best results. The frosted cupcakes can sit at room temperature for 4-6 hours before the decorations begin to soften.
- → Can I use boxed cake mix instead of from scratch?
-
Absolutely. Use your favorite chocolate cake mix according to package directions. The homemade frosting really makes these special, so consider making that from scratch even if you use a mix for the bases.
- → What cookies work best for tombstones?
-
Rectangular biscuits like digestive biscuits, graham crackers, or vanilla wafers work perfectly. Milanos and similar oval cookies also create nice tombstone shapes. Choose sturdy cookies that won't break when pressed into the frosting.
- → How do I transport these without ruining the decorations?
-
Assemble the graveyard on a sturdy serving board or tray that fits in a large box. Use a non-skid mat underneath to prevent sliding. Carry flat and keep level. If traveling far, consider frosting and decorating at your destination.
- → Can I make these gluten-free?
-
Yes. Use a gluten-free flour blend in the cupcake batter and choose gluten-free cookies for both the dirt and tombstones. Many chocolate sandwich cookies and plain biscuits come in gluten-free varieties now.
- → What other decorations work well?
-
Candy bones, skeleton hands, candy corn, pretzel sticks for fences, marshmallow ghosts, or plastic spider rings all add to the spooky theme. Bone-shaped sprinkles and crushed Oreos create excellent texture variations.
