 Pin it
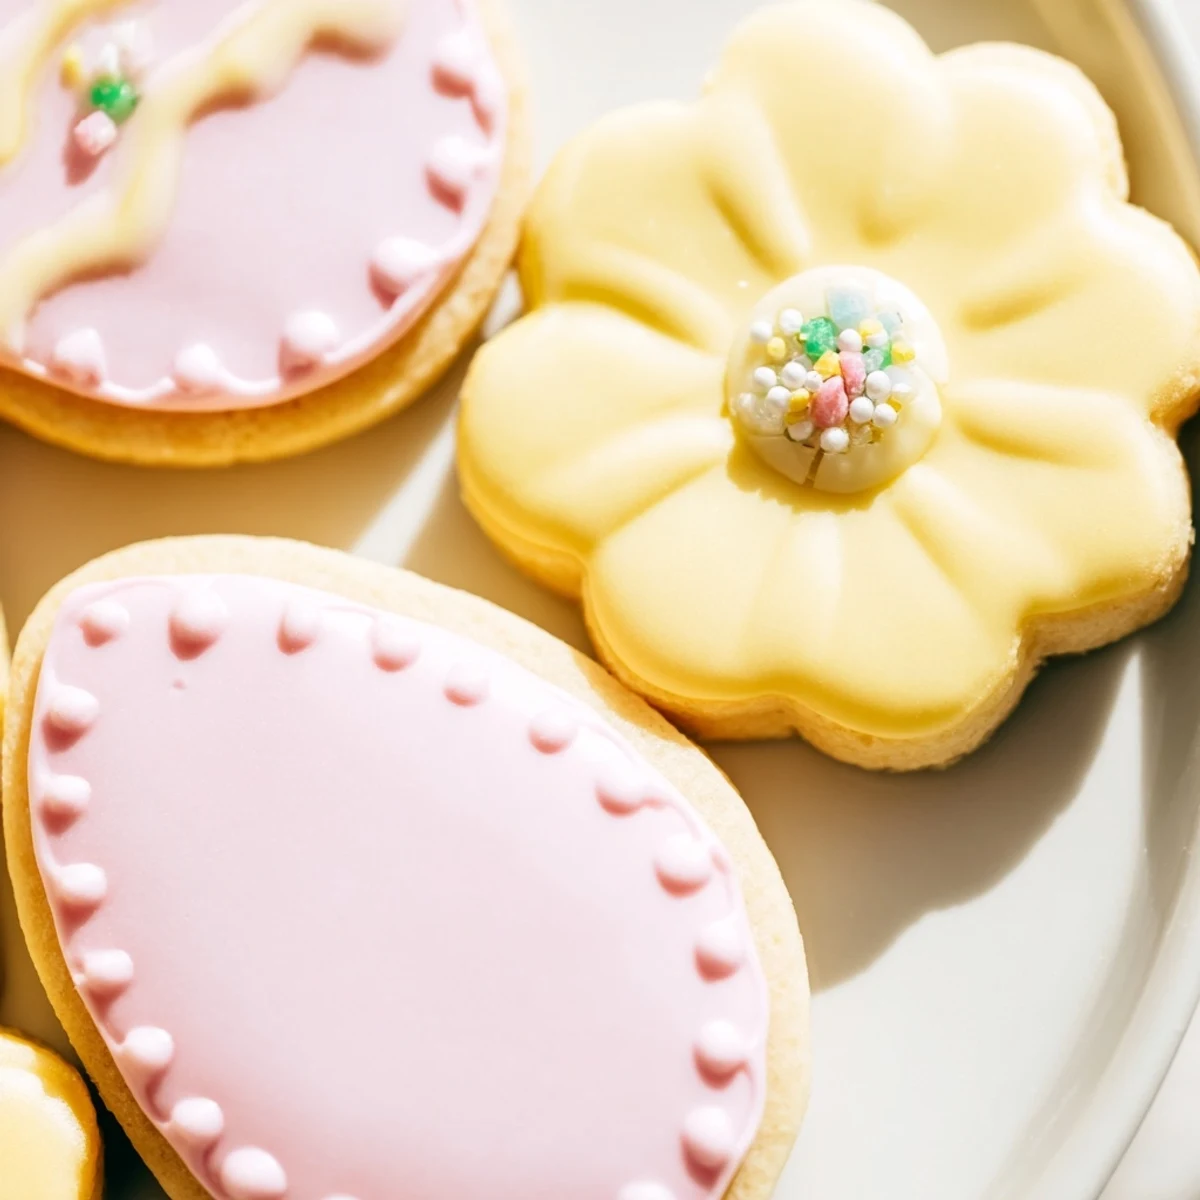
 These light and buttery sugar cookies bring cheerful colors to your Easter and spring celebrations. The dough comes together quickly with pantry staples, then chills for easy rolling. Cut them into festive shapes like eggs, bunnies, and flowers before baking until golden. The royal icing dries smooth and glossy, perfect for decorating with pastel shades and sprinkles. Each bite delivers melt-in-your-mouth sweetness that both kids and adults love.
Last Easter, my kitchen looked like a pastel explosion. I had three different bowls of icing going, flour on my glasses somehow, and my daughter kept sneaking dough scraps when she thought I wasn't looking. Now those chaotic Saturday mornings are something I actually look forward to all year.
My neighbor asked if I could teach her how to make cookies that actually hold their shape during baking. We spent a whole afternoon with these cutters, drinking coffee and discovering that the secret really is just patience during that chilling step. Now she text me pictures of her Easter cookies every year.
Ingredients
- All-purpose flour: The structure builder here, and measuring it correctly prevents spreading or tough cookies
- Unsalted butter: Room temperature is nonnegotiable for creaming properly into those tiny air pockets
- Powdered sugar: Pure and smooth, this dissolves perfectly into royal icing without graininess
- Meringue powder: The secret to icing that actually sets hard instead of staying tacky for days
- Food coloring: Gel colors give you those soft Easter pastels without needing much liquid
Instructions
- Whisk the dry ingredients:
- In a medium bowl, combine flour, baking powder, and salt until everything's evenly distributed. This little step prevents you from biting into pockets of baking powder later.
- Cream butter and sugar:
- Beat the butter and sugar for the full 2 to 3 minutes until it looks pale and fluffy. You're literally forcing air into the butter, which makes cookies lighter.
- Add eggs and extracts:
- Beat in the egg, vanilla, and almond extract until combined. That almond extract is optional, but it adds something floral that people can never quite identify.
- Mix in the flour:
- Gradually add dry ingredients, mixing until just combined. Stop as soon as you don't see dry streaks, because overworking creates tough cookies.
- Chill the dough:
- Divide dough in half, shape into disks, wrap in plastic, and chill for at least 1 hour. This relaxes the gluten and firms the butter so cutters slice clean edges.
- Roll and cut:
- On a lightly floured surface, roll dough to 1/4 inch thickness and cut into Easter shapes. Dip cutters in flour between presses to prevent sticking.
- Bake until barely golden:
- Bake at 350°F for 9 to 11 minutes, removing them when edges just start turning color. They'll look underdone but firm up as they cool.
- Make the royal icing:
- Mix powdered sugar, meringue powder, and water until smooth and glossy. Adjust consistency with more water for flooding or more sugar for piping detail.
- Decorate your cookies:
- Divide icing into small bowls, tint with pastel colors, and decorate cooled cookies. Let them set completely before stacking or they will smudge.
 Pin it
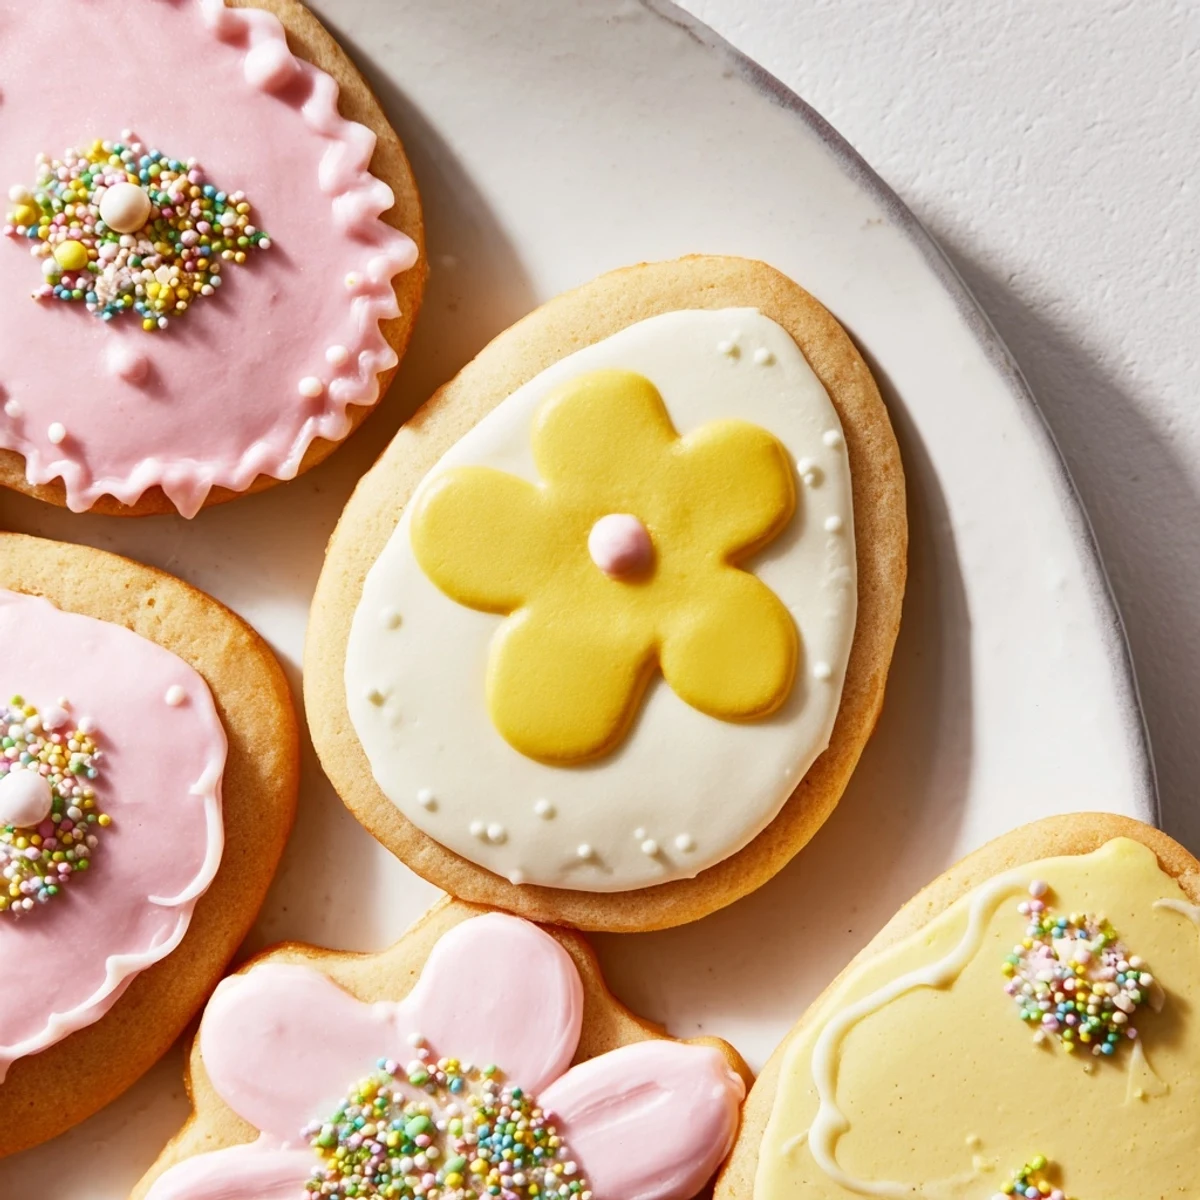
 Last year I made a double batch and brought them to our church Easter potluck. The kids grabbed the bunnies first, naturally, but I watched grown adults fight over the flower ones with pink centers. Something about these cookies just makes people happy to see them on a platter.
Getting Clean Shapes
The difference between professional looking cookies and homemade ones often comes down to how you handle the dough scraps. Gather them gently and rechill briefly instead of rerolling continuously, which warms the butter and makes shapes lose their sharp edges.
Icing Consistency Matters
Flooding consistency should fall off a spoon in a steady ribbon and disappear back into itself within 10 seconds. Piping consistency holds a peak like soft serve ice cream. Getting these right means the difference between cookies that look smeared and ones with clean lines.
Storage and Planning
These actually taste better on day two because the flavors have time to meld and the icing softens slightly against the cookie. I always bake them a day ahead and store in single layers separated by parchment paper.
- Undecorated cookies freeze beautifully for up to a month
- Decorated cookies can be frozen but colors may bleed slightly when thawing
- Always bring cookies to room temperature before serving for the best texture
 Pin it
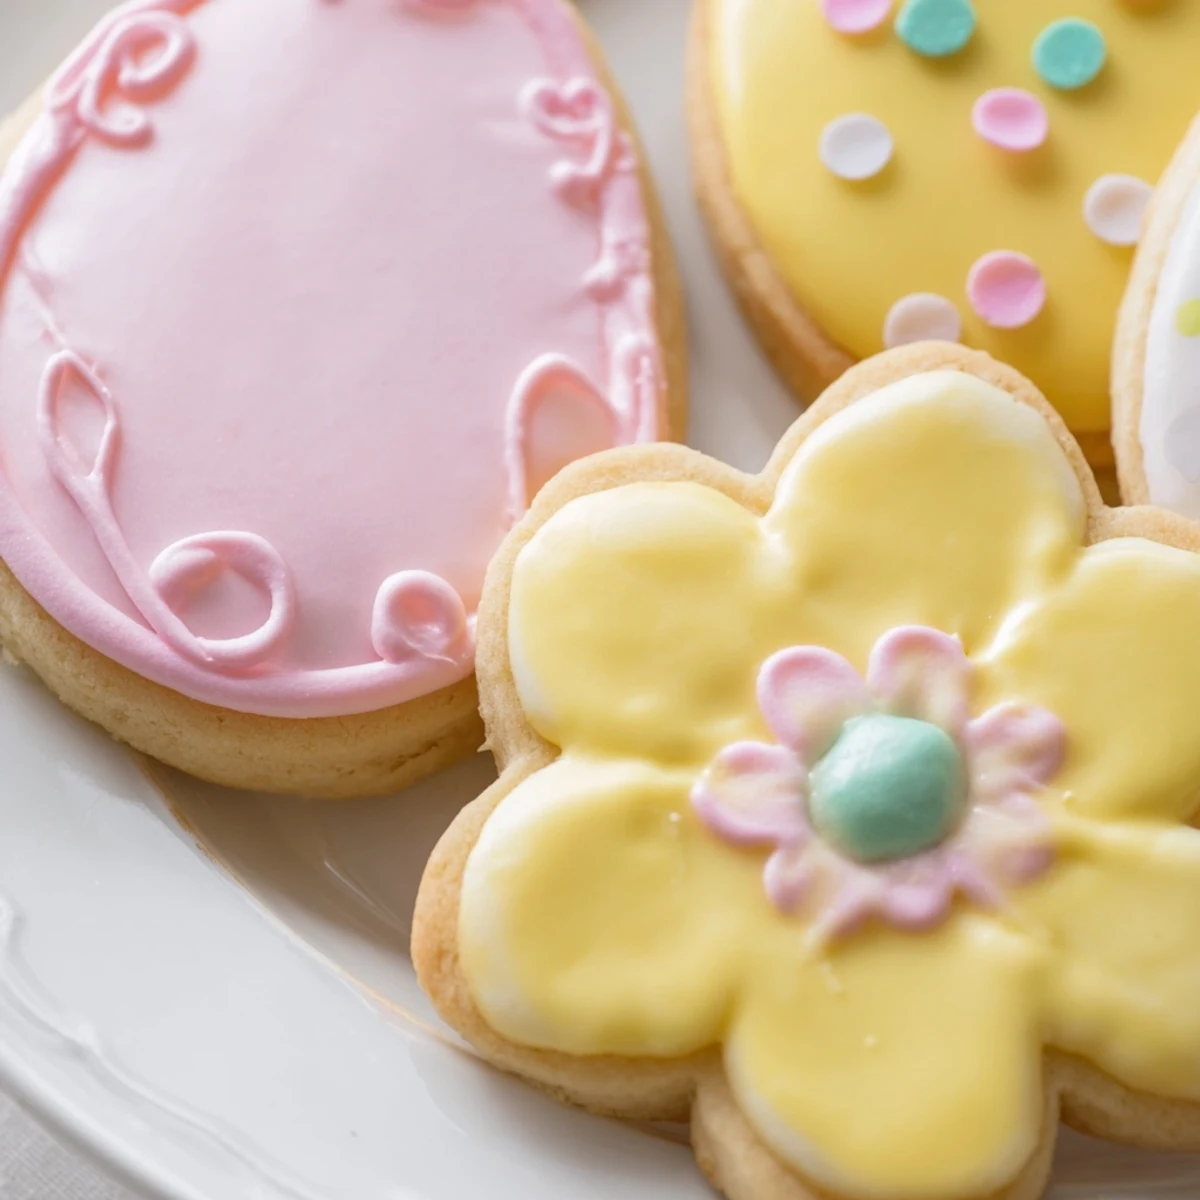
 Whatever shapes you choose and however messy the decorating gets, these cookies will taste like spring in your kitchen. That is what matters most.
Recipe FAQs
- → Can I make the dough ahead of time?
-
Yes, the dough can be wrapped and refrigerated for up to 3 days before baking, or frozen for up to 3 months. Thaw overnight in the refrigerator before rolling and cutting.
- → How do I get the right icing consistency?
-
For outlining, use thicker icing (like toothpaste consistency). For flooding the centers, add more water until it flows smoothly but holds its shape. Test on a plate first—the icing should settle within 10-15 seconds without spreading too much.
- → Can I use liquid food coloring instead of gel?
-
While gel coloring provides vibrant hues without thinning the icing, liquid food coloring works too. Just add it drop by drop, as liquid can affect the icing consistency. You may need slightly more powdered sugar to compensate.
- → Why did my cookies spread too much?
-
This usually happens when the dough gets too warm. Keep the dough chilled until ready to bake, and work in batches if your kitchen is warm. Also, measure flour correctly—too little flour causes spreading. Roll dough to even thickness for uniform baking.
- → How long do decorated cookies stay fresh?
-
Once the icing has completely set (about 4-6 hours or overnight), store cookies in an airtight container at room temperature for up to one week. Layer with parchment paper to prevent sticking. Avoid refrigerating, as this can make the cookies stale faster.
- → Can I make these without a stand mixer?
-
Absolutely! Use a large bowl and sturdy wooden spoon or hand mixer to cream the butter and sugar. It may take a few extra minutes of mixing to achieve the right fluffy consistency, but the results will be just as delicious.
