 Pin it
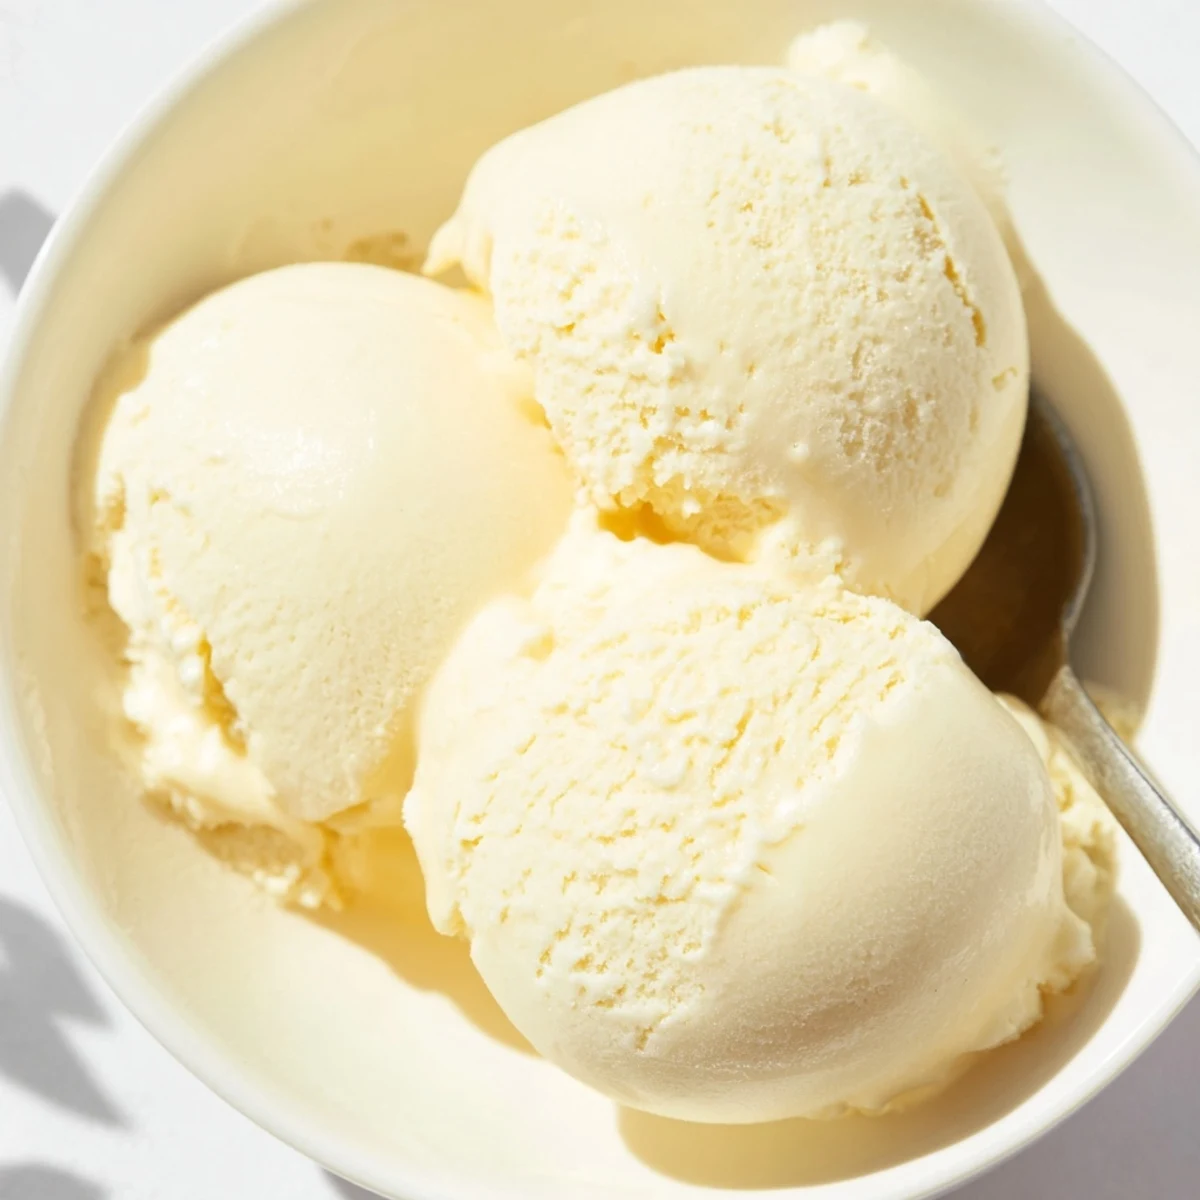
 Creating your own vanilla ice cream at home yields incredibly creamy results with pure vanilla flavor. This classic frozen dessert combines heavy cream, whole milk, and egg yolks for a rich custard base that churns into silky perfection. After heating and tempering the mixture, you'll refrigerate it for optimal texture before freezing. The result is a smooth, scoopable treat that rivals any premium brand.
The process takes about 6 hours total, mostly chilling and freezing time. You'll need an ice cream maker for best results, though the hands-on preparation is just 30 minutes. Customizing with mix-ins like chocolate chips, fruit, or caramel swirls is easy. For dairy-free diets, coconut milk makes an excellent substitute.
My kitchen smelled like a Parisian creamery the afternoon I decided homemade ice cream was no longer optional in my life, and the sound of the machine churning turned a regular Tuesday into something worth remembering.
I served this at a backyard dinner party in July and watched three grown adults abandon their wine glasses to go back for seconds, spoons clicking against ceramic bowls like kids at a birthday.
Ingredients
- 2 cups heavy cream: The fat content here is everything, so do not even think about substituting light cream or half and half.
- 1 cup whole milk: Balances the richness of the cream while keeping the base pourable and smooth.
- 3/4 cup granulated sugar: Dissolves during heating and prevents ice crystals from forming during freezing.
- Pinch of salt: A tiny amount lifts the vanilla and makes the sweetness taste more complex.
- 1 tablespoon pure vanilla extract: Skip the imitation stuff entirely, genuine pure extract is non negotiable here.
- 5 large egg yolks: These create the custard foundation that gives ice cream its luxurious mouthfeel.
Instructions
- Warm the cream base:
- Combine the heavy cream, whole milk, sugar, and salt in a saucepan over medium heat, stirring gently until the sugar dissolves and you see small bubbles forming at the edges but never let it reach a full boil.
- Prepare the yolks:
- Lightly whisk the egg yolks in a separate bowl until they loosen up and turn a slightly paler yellow.
- Temper carefully:
- Slowly pour about one cup of the hot cream mixture into the yolks while whisking constantly and without stopping, because scrambled egg ice cream is not a flavor anyone wants.
- Cook the custard:
- Pour the tempered yolk mixture back into the saucepan and stir continuously over medium low heat until the custard thickens enough to coat the back of a spoon like a thin ribbon.
- Add vanilla and strain:
- Remove from heat, stir in the vanilla extract, then push the custard through a fine mesh sieve into a clean bowl to catch any accidental cooked bits.
- Chill thoroughly:
- Let the custard cool to room temperature, then cover it tightly and refrigerate for at least four hours or overnight if you can stand the wait.
- Churn until creamy:
- Pour the chilled custard into your ice cream maker and churn according to the manufacturers instructions until it looks like soft serve and has doubled in volume.
- Freeze to finish:
- Transfer the churned ice cream into a freezer safe container, press a piece of parchment directly on the surface, cover tightly, and freeze for at least two hours before scooping.
 Pin it
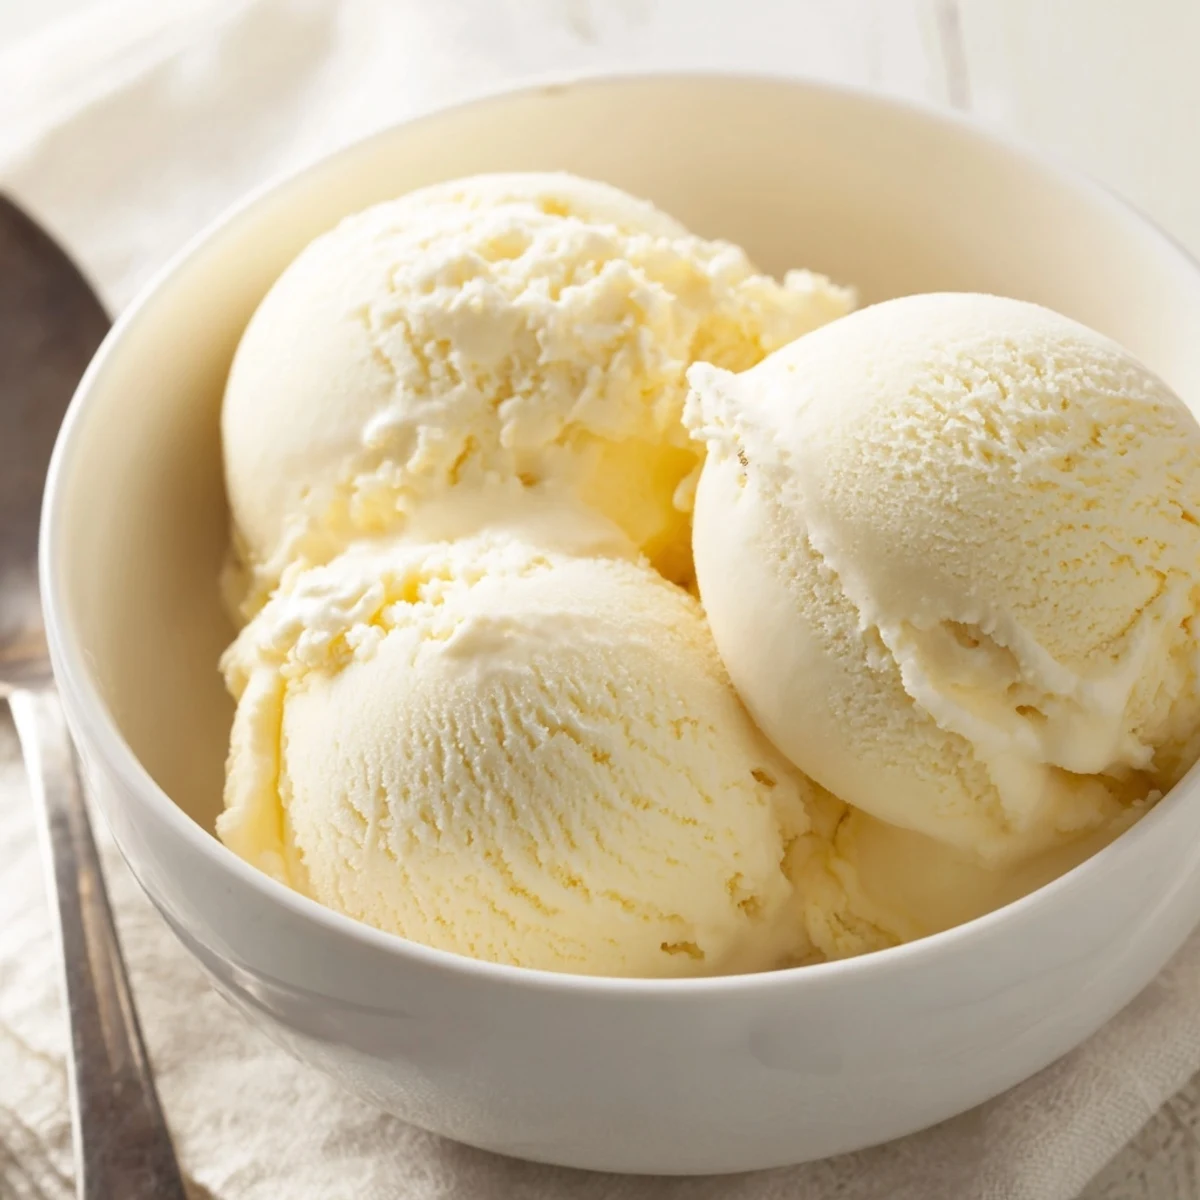
 Scooping this into bowls for my neighbors during a power outage, we all sat on the porch in the quiet dark eating melting ice cream and laughing about how the universe has a sense of humor.
Flavor Variations Worth Trying
Fold in half a cup of chocolate chips right after churning for a classic chunky bite, or swirl in warm caramel sauce with a butter knife for ribbons that harden into golden streaks throughout the frozen base.
Equipment That Makes a Difference
A heavy bottomed saucepan distributes heat evenly and prevents hot spots that can scramble your yolks before you even realize it is happening.
Storage and Serving Wisdom
Homemade ice cream freezes harder than commercial brands because it lacks industrial stabilizers, so let it sit at room temperature for about ten minutes before scooping for the best texture and easiest serving.
- Press parchment paper directly onto the surface before covering to prevent ice crystals from forming on top.
- A shallow wide container freezes more evenly than a deep narrow one.
- Consume within one week for the freshest flavor and creamiest consistency.
 Pin it
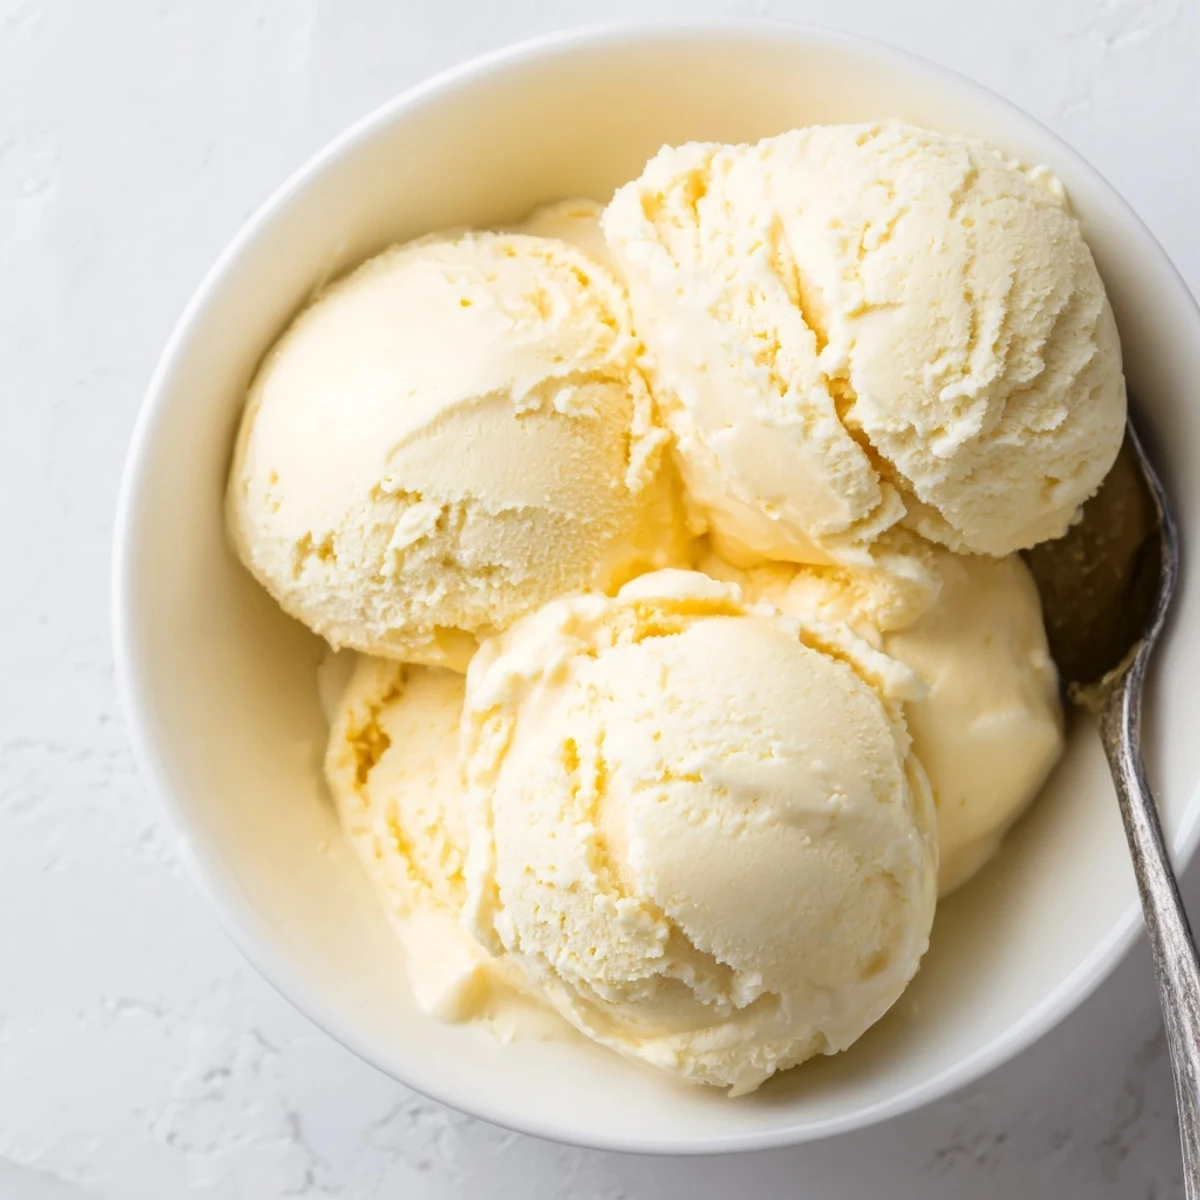
 Once you taste ice cream made from scratch with real cream and egg yolks, the freezer aisle loses its appeal forever, and honestly that is a wonderful problem to have.
Recipe FAQs
- → What makes homemade ice cream creamy?
-
The high fat content from heavy cream combined with egg yolks creates a rich custard base. Proper tempering prevents curdling while churning incorporates air for smooth texture. Adequate chilling time before freezing prevents ice crystals from forming.
- → Can I make this without an ice cream maker?
-
While an ice cream maker produces the smoothest results, you can freeze the mixture in a shallow container, stirring every 30 minutes for the first 3 hours. This manual method breaks up ice crystals but yields a slightly denser final product.
- → How long should I chill the base before churning?
-
Refrigerate the custard for at least 4 hours, but overnight chilling produces even better results. Cold mixture freezes faster and smaller, creating smoother texture. The base keeps well for up to 3 days before churning.
- → Why do I need to temper the egg yolks?
-
Tempering gradually heats the yolks with hot cream to prevent scrambling. Adding hot liquid slowly while whisking raises yolk temperature gently, allowing them to thicken the custard without cooking into bits.
- → How do I store homemade ice cream?
-
Store in an airtight freezer-safe container, placing parchment or wax paper directly on the surface to prevent ice crystals. Consume within 2-3 weeks for best texture and flavor. Let soften 5-10 minutes before scooping.
